
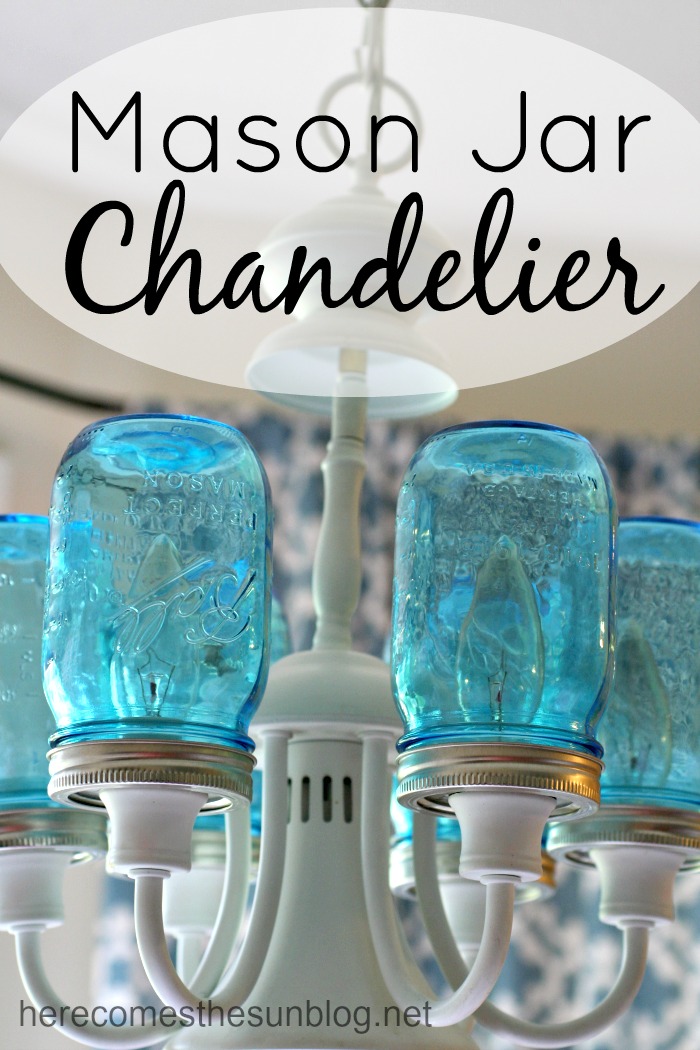
Mason Jar Chandelier
I can’t tell you how excited I am to share this project with you. I’m so in love with blue mason jars and I’ve been wanting to make some sort of mason jar light fixture for a while now but couldn’t decide on what. I took a look at my hideous chandelier in my dining room and knew I could transform it into something amazing. Because blue mason jars make everything amazing. So I made my very own Mason Jar Chandelier.
Here is my chandelier before.
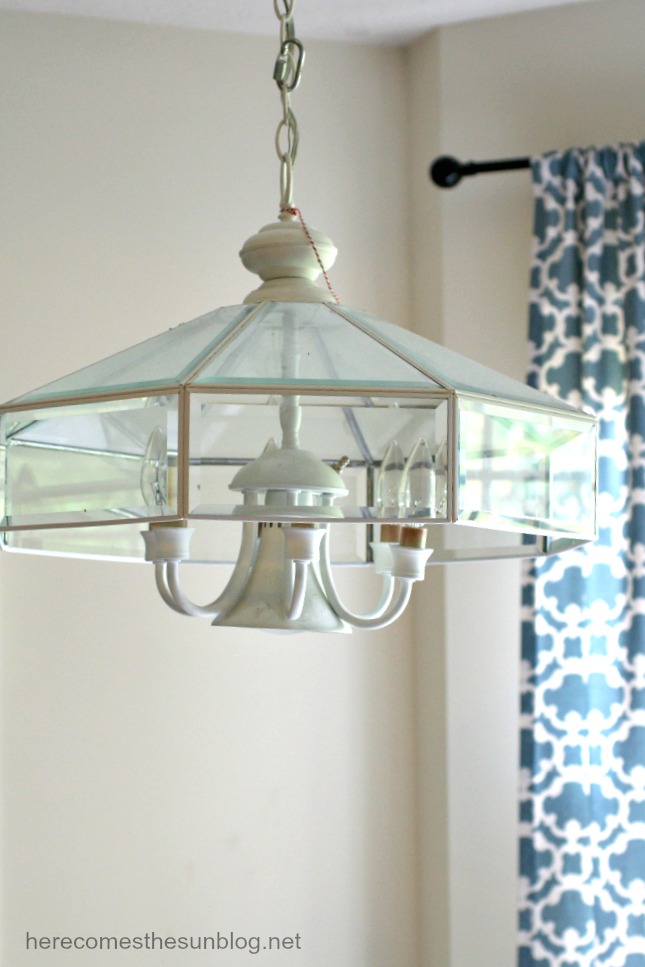
UGH. If that doesn’t scream builder grade I don’t know what does. It HAD TO GO. Three years of looking at this thing was enough for me.
So first we unwired it and took it down. Actually, first we turned off the breaker. THEN we unwired it and took it down. With a few unscrews we were able to remove the glass part and we were left with the basic chandelier. After cleaning the dust off, it looked great. You’ll notice it is pretty filthy in the picture above.
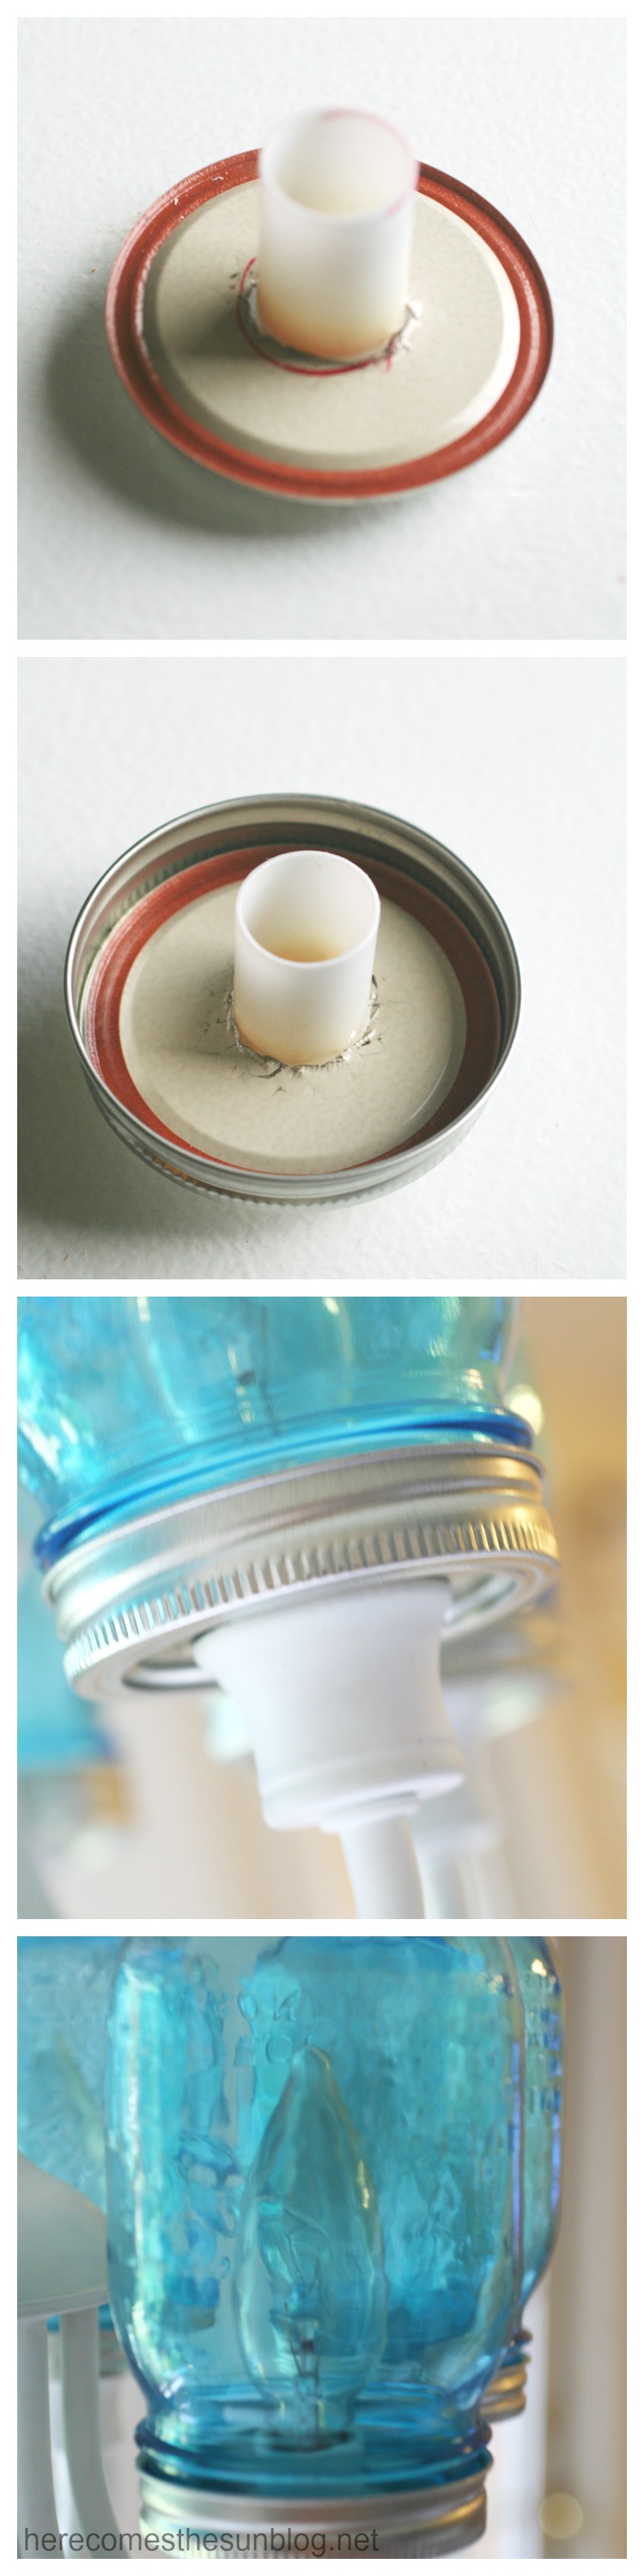
To fit the mason jars over the lights, we used the “candle holders” on the chandelier as a guide and drilled holes in the lids. Then we used metal snips to cut the hole bigger so it would fit over the “candle holder” on the chandelier. We used gorilla glue to attach the lids to the rings. Just a few small dots of this stuff will be plenty.
Before placing the lids onto the chandelier, we rewired the chandelier and hung it back up. To attach the lids, I slid the candle holder back into place and the lid rested on the base of the chandelier. I then screwed the lightbulbs in and screwed the jars onto the lids. I didn’t use any glue to attach the lids to the light fixture base and it seems to be holding ok. I didn’t want to use any glue since I will need to put the original chandelier back together when we move but if your fixture is going to be permanent, then go ahead and use some glue. I’m always trying to make my projects renter friendly.
I so love my new chandelier. It goes perfectly with the colors of my kitchen and dining room.
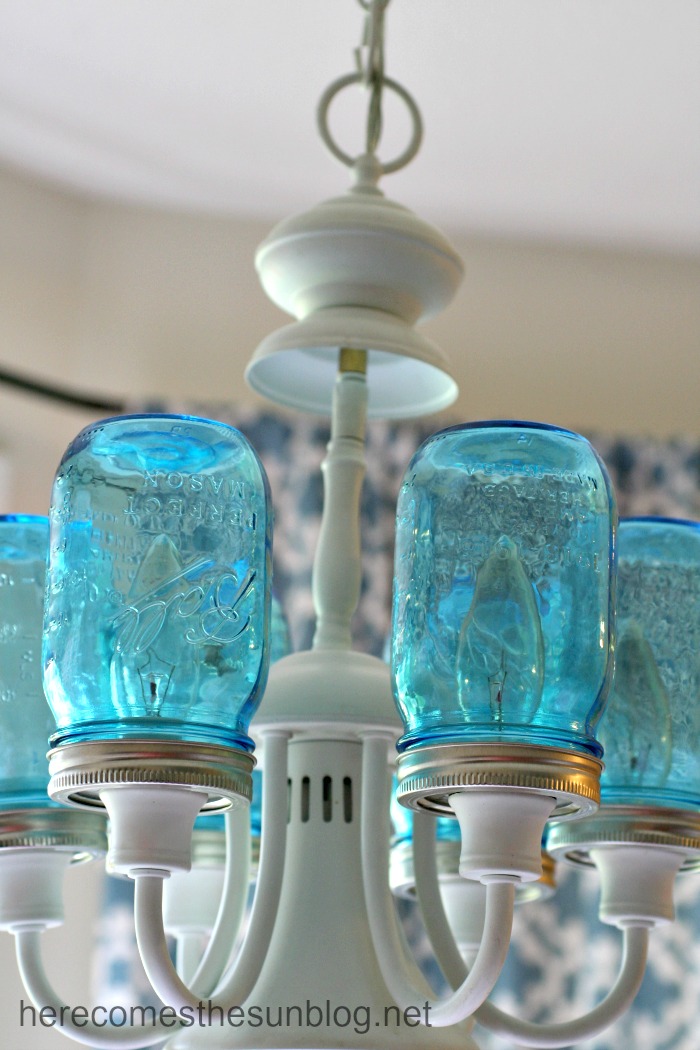
This project cost me a total of $10 and that was for the six blue mason jars. If you have to buy the chandelier it is obviously going to cost more but you can find cheap chandeliers at thrift stores.
What types of mason jar projects are your favorite?
To see more of my kitchen and dining room updates, check out these posts:
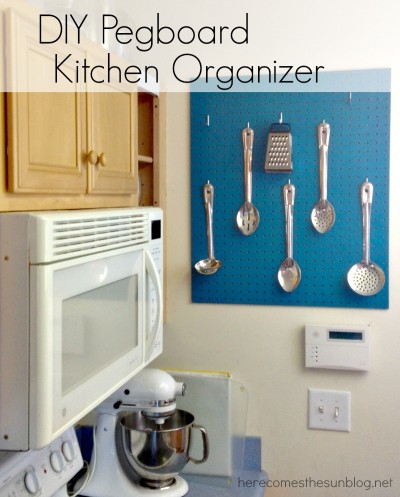
DIY Pegboard Kitchen Organizer
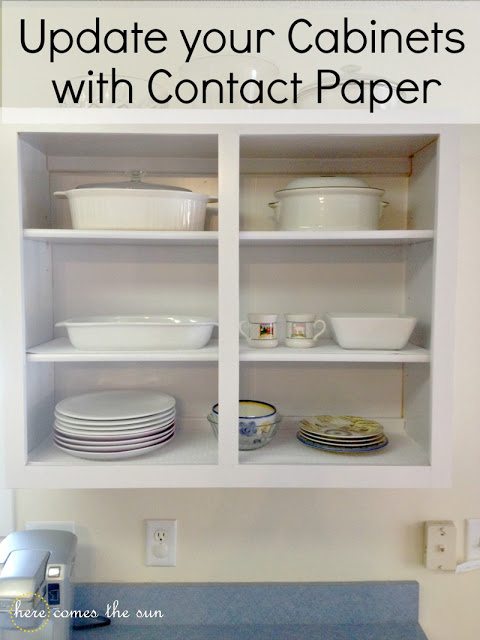
How to Update your Cabinets with Contact Paper
I love this, especially because you’ve done it in blue!
Hi Kelly, How did you attach the lids themselves onto the chandelier? Are they glued down? If so, what type of glue? Thank you, Darlene
Hi Darlene! The lids are resting on the candle holder portion of the chandelier. The lid and the outer band are glued together but the lid itself is not glued to the chandelier. Hope this helps.
I would like to make something just like this with our existing chandelier. My concern is when the lights are on the glass mason jars will become too hot. Is this an issue for you? I wasn’t sure if there’s a risk the glass could explode? Thanks for your help!
I did not have this problem.