
How to Make a Gold Foil Print
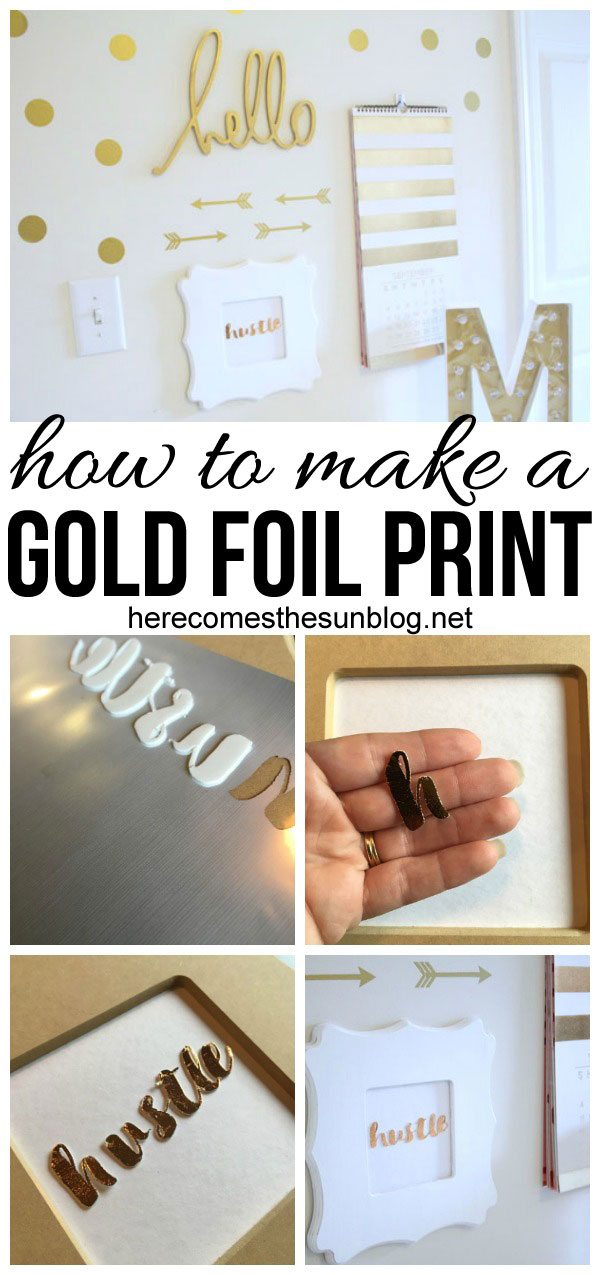
If you follow me over on Instagram (you DO follow me, right?), you may have seen this beauty that I posted. I’m a sucker for anything gold foil. FOIL ALL THE THINGS could very well be my motto these days. You can never have too much gold, right? Today I’m going to teach you how to make your very own Gold Foil Print. This is for all the girl bosses out there.
HOW TO MAKE A GOLD FOIL PRINT
I’ve included affiliate links to make it easier for you to purchase the supplies.
SUPPLIES
Picture frame
Thermoweb Decofoil Sheet in Gold
Thermoweb Decofoil Foam Sheets
Silhouette Machine
DIRECTIONS
Step 1. Create your design with the Silhouette software. I suggest using a font that is “thick” and doesn’t have intricate details. This makes it easier for the Silhouette to cut. Make sure that your text will fit into the opening of the frame that you have chosen. After your text is created, mirror the text.
Step. 2 Place a foam sheet onto the cutting mat with the paper liner side down. The foam is sandwiched between 2 layers but the liner side is the side that overhangs. Make sure that the foam sheet is skinnier in width than the rollers on the Silhouette. If the foam goes under the rollers, it could get out of whack.
Step. 3 Set your cutting blade to the highest that it can go. On my blade, it is a “10”. You can also use a deep cut blade. Melissa from Silhouette School has a great tutorial on using deep cut blades. The other settings you will need are:
SPEED: 1
THICKNESS: 33
CUT: DOUBLE CUT
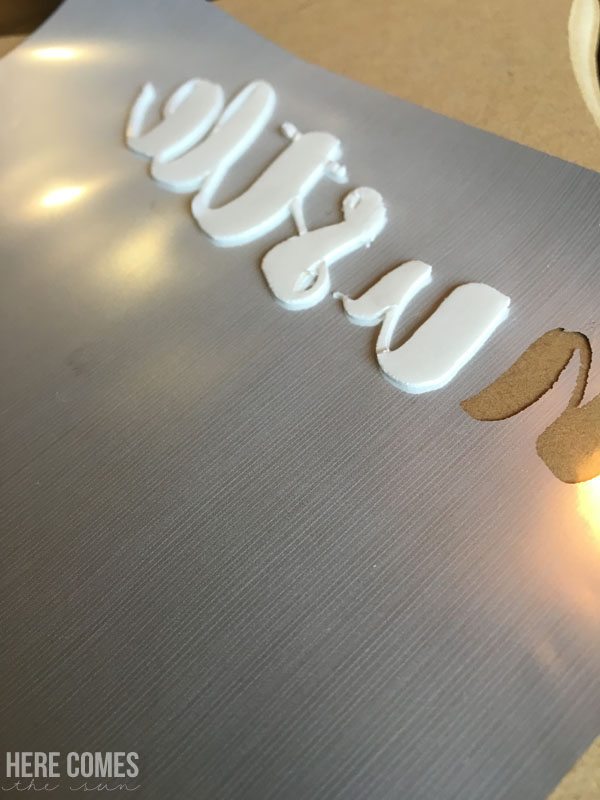
Step 4. Cut out your design and weed out any unnecessary foam pieces.
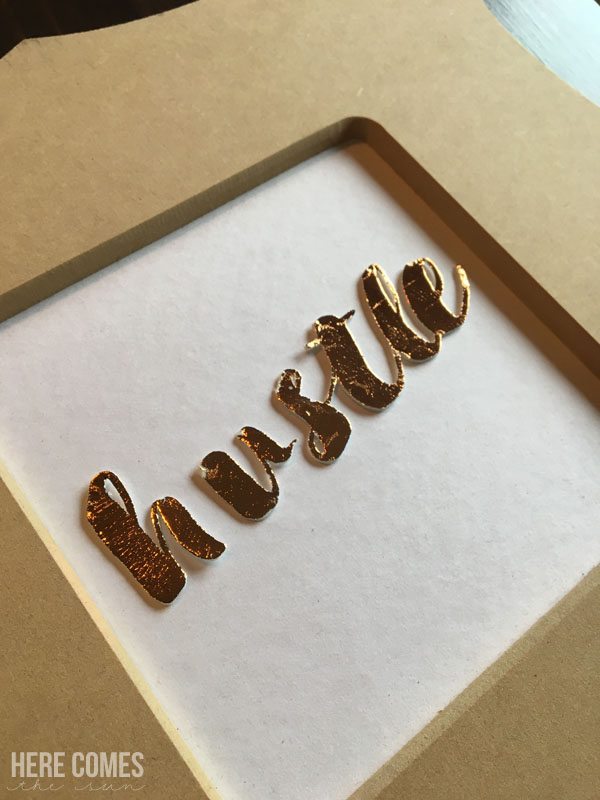
Step 5. Remove the foam from the cutting mat and remove the paper backing from the foam, if needed. Place the foam sticky side down onto the back (silver) side of the DecoFoil gold sheet.
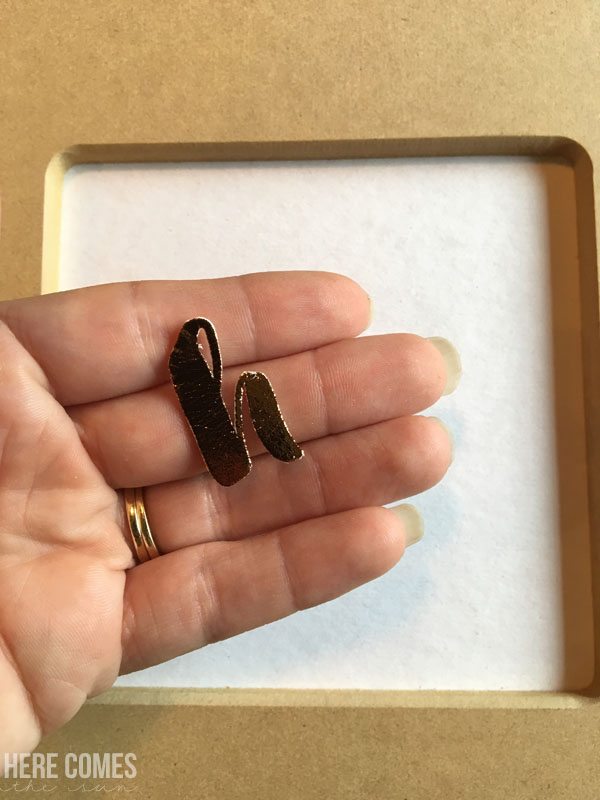
Turn the foil sheet over and rub to adhere the foam to the foil.
Step 6. Carefully remove the foam from the foil sheet. You should now have your text covered in gold foil.
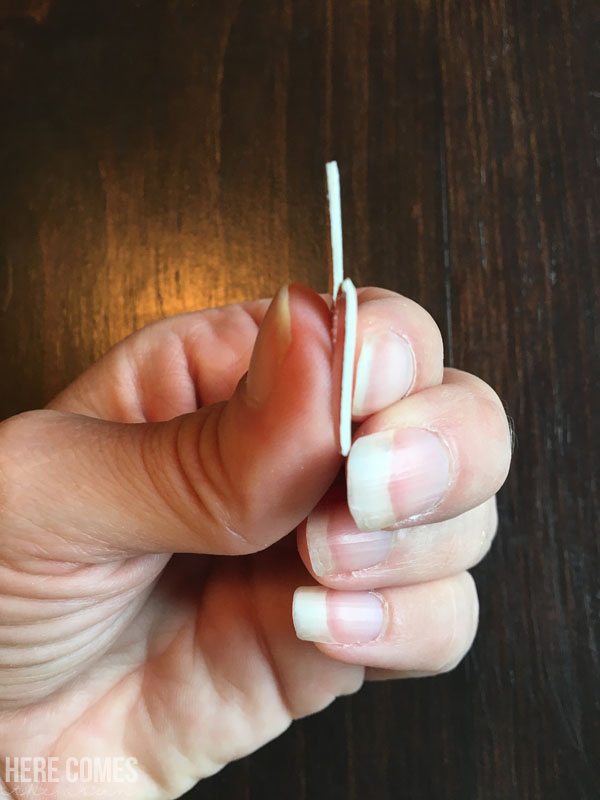
Step 7. Peel off the backing on the foam and stick your text down into the frame inset.
Step 8. Paint your frame if desired.
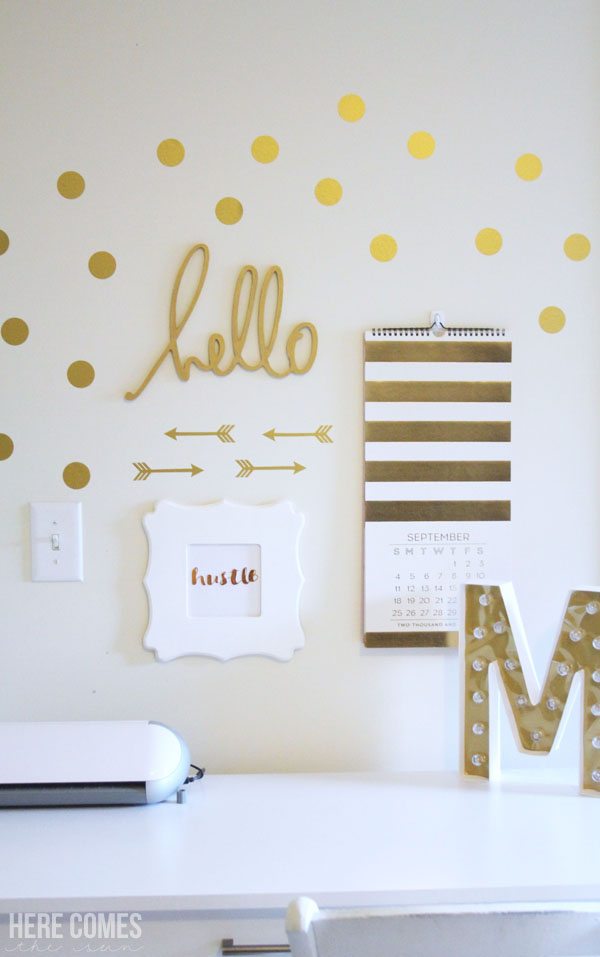
This Gold Foil Print went up over my desk area. As you can see, I’m kinda obsessed with gold right now.
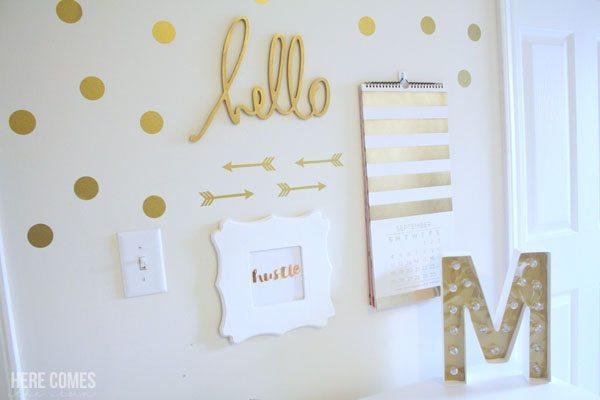
I’ve carved out this tiny area of our bedroom to be my office. It’s not the ideal space but since we don’t have any extra rooms for an office, it’s what I have to work with for now. I’m looking forward to getting into a bigger house with a room all to myself for my office/craft room.
So all you girl bosses… hustle your heart out!