
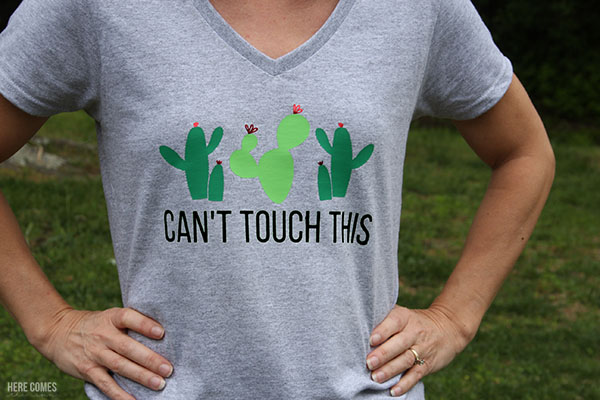
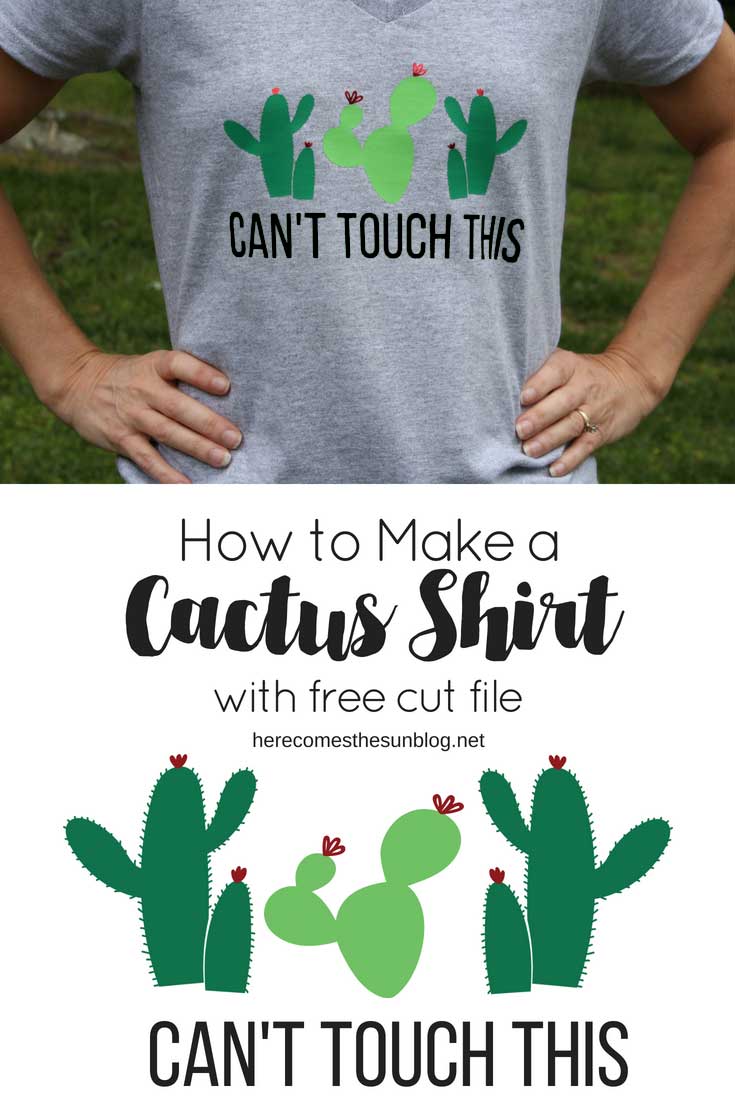
DIY Cactus Shirt – “Can’t Touch This”
This DIY cactus shirt will take you waaaay back. Learn how to make it with this easy tutorial.
I’m probably showing my age but I used to absolutely love some MC Hammer back in the day. His music was a staple at my middle school dances. The girls would swoon over all the hammer pants that the boys were wearing and the boys tried to do their best MC Hammer impression. I’m not bringing back the hammer pant, I promise. But I am teaching you how to make this adorable DIY cactus shirt with a play on the song lyrics.
DIY CACTUS SHIRT SUPPLIES
- T shirt (white or gray work best)
- Can’t touch this cut file. You can access it in the resource library, available to my email subscribers.
- Silhouette or Cricut Amazon | Cricut
- Siser easy Weed Stretch Heat Transfer Vinyl in light green, dark green red and black.
- Weeding Tools
HOW TO MAKE A DIY CACTUS SHIRT
CUT THE VINYL FOR THE CACTUS SHIRT
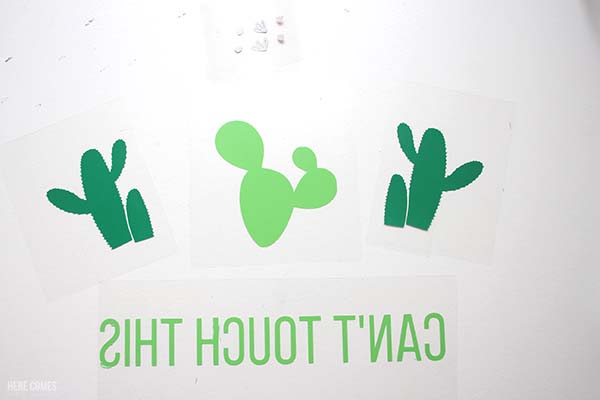
First, download the free cut file. The SVG file will work will Silhouette Designer Edition and Cricut. It may also work with other cutting machines as well.
The cut file is grouped into 4 layers. The text is one layer, the cactus is the second layer, the spines are the third layer and the flowers are the fourth layer.
Cut out each layer separately. Remember to mirror everything before you cut it and place the the vinyl on the mat with the colored side down.
Text = Black vinyl
Cactus = Dark and light Green vinyl
Spikes = Black or green vinyl
Flowers = Red vinyl
WEED THE VINYL FOR YOUR CACTUS SHIRT
To weed the vinyl, use the weeding tool (it looks like a hook) to grab the excess vinyl and peel away. Carefully peel away the insides of the letters that have holes. When you are done weeding, you should be left with the vinyl designs attached to a clear backing.
ADHERE THE VINYL TO THE CACTUS SHIRT
This design will have to be adhered to the shirt in layers. Adhere the cactus layer first, then the spikes, then the flowers, then the text. Lay it all out before starting to iron so you can make sure it is centered.
The cut file that I have provided has the spikes on a separate layer. You may want to merge them to the cactus file and cut them all out together. This is what I did and that is why my spikes are green.
Place a thin towel or pillowcase over each design. Set your iron to the cotton setting and iron each section of the design for 10-15 seconds. Test to see if the vinyl is adhered by pulling back the clear sheet. If it is not sticking to the shirt, iron for 10-15 more seconds. You can also use a Cricut Heat Press instead of an iron to adhere the vinyl.
You’ll see below that I first chose to use green vinyl for the words. I highly recommend black or dark green vinyl if you are using a gray shirt. The light green may show up better on a white shirt.
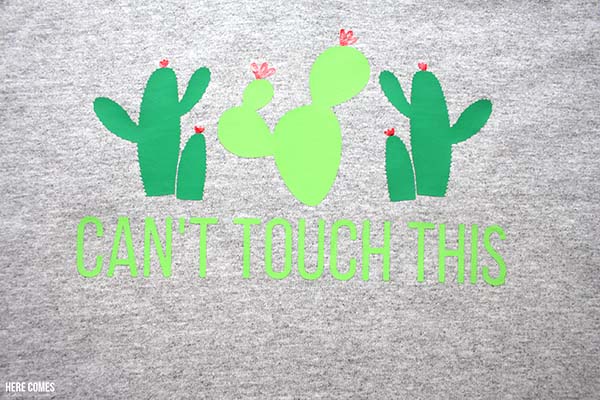
When you are done ironing, peel back the plastic sheet to reveal your beautiful new cactus shirt.
LOVE IT? PIN IT!
Now if you excuse me, I have some 90s rap that I need to go listen to.
YOU MAY ALSO LIKE:
DIY Patriotic Shirt
DIY Workout Tank
Star Wars Shirt With Glitter Vinyl
Haha I love the project – and the thought of you listening to MC Hammer.