
How to Create Digital Watercolor Prints with Photoshop Elements
Today I’m talking about one of my favorite topics.. graphic design. And I’m going to teach you how to create digital watercolor prints. It’s super easy!
This post contains affiliate links
The program that I use to create digital watercolor prints is Photoshop Elements. If you haven’t checked out my basic tutorial on creating printables with Photoshop Elements, you may want to read that first since we will be building on concepts from that post
How to Create Digital Watercolor Prints
Step 1.
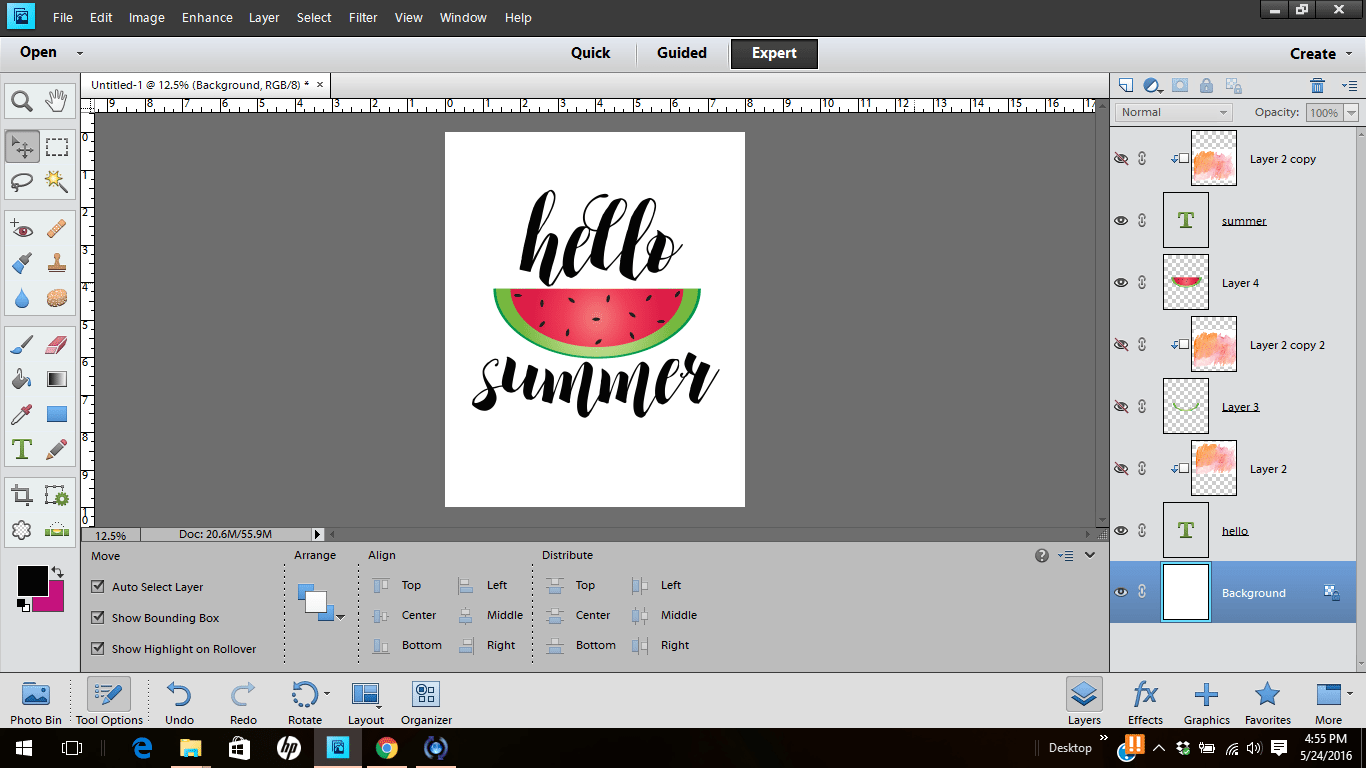
Open up a new file in Photoshop Elements. Make it whatever size you want but for this example, I’ll be creating an 8×10 file. Make sure your background is white.
Step 2.
Next, add your text and image. The font I used in this print is Bruselo Script. I found the watermelon image on Pixabay. Make sure you use a PNG image with a transparent background. Add the image by opening it in Photoshop Elements and then dragging the image into your file.
My favorite place to find fonts is Creative Market They have really good deals and at the beginning of each month they offer bundles with tons of amazing stuff. They also offer 6 freebies every week!
Step 3.
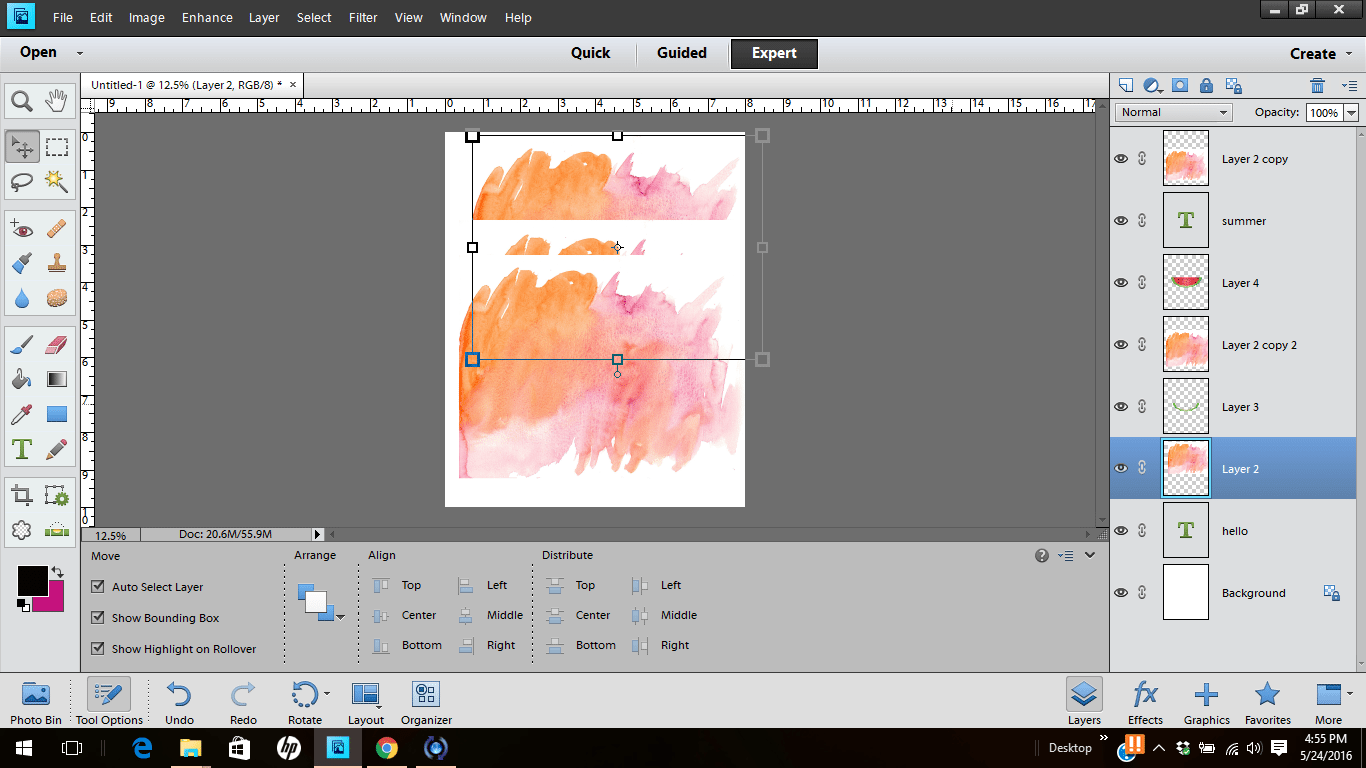
Next, we’re going add the watercolor effect. I found the watercolor file on Pixabay too. Open up the watercolor image and drag it into your file.
Make 3 copies of your watercolor image (CTRL-J) and place the watercolor images on top of the text layers and watermelon layer by dragging and dropping in the layer palette.
Now, select one of the watercolor layers in the layer palette that is directly above your text. Hit CTRL-G and watch what happens. We just created a clipping mask so now the watercolor layer is clipped to show only where the text is. Awesome, right? Repeat for the second layer of text. Once you are finished with this step, your image should look like the one below.
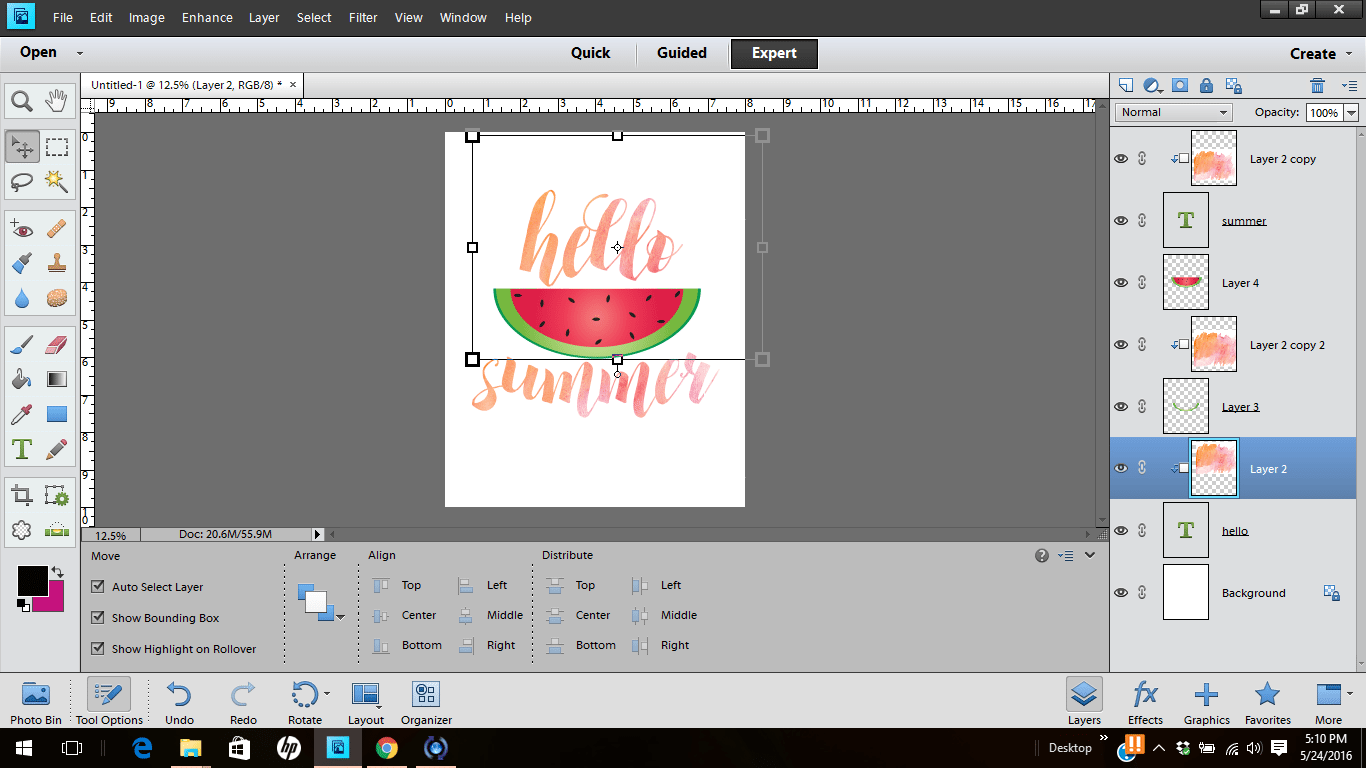
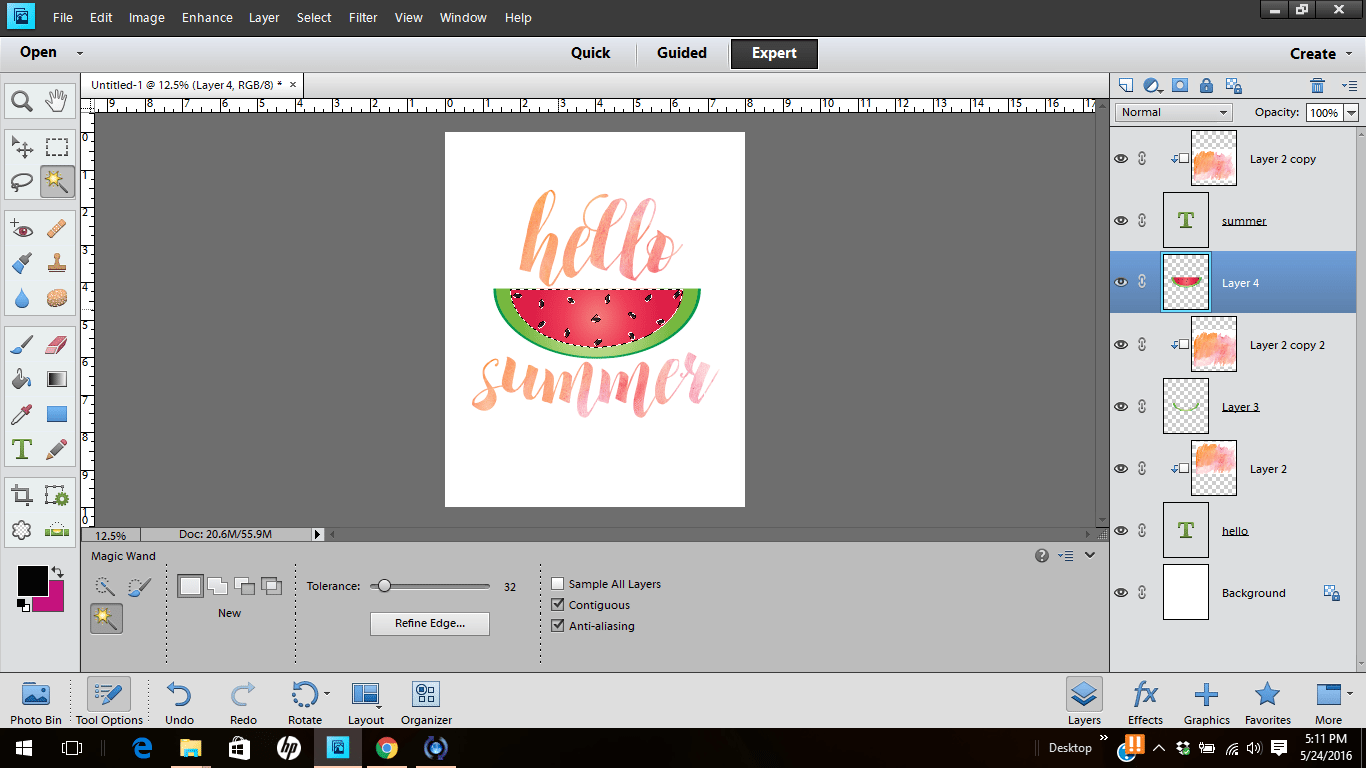
In order to clip the watercolor layer to the watermelon, you will have to delete the area of the watermelon that you want to remain white. In this case, that would be the pink color. To do this, select the watermelon layer in the layer palette and then click on the magic wand tool. (See screenshot below) Click on the portion of the watermelon that you want to remove and hit “delete” on your keyboard.
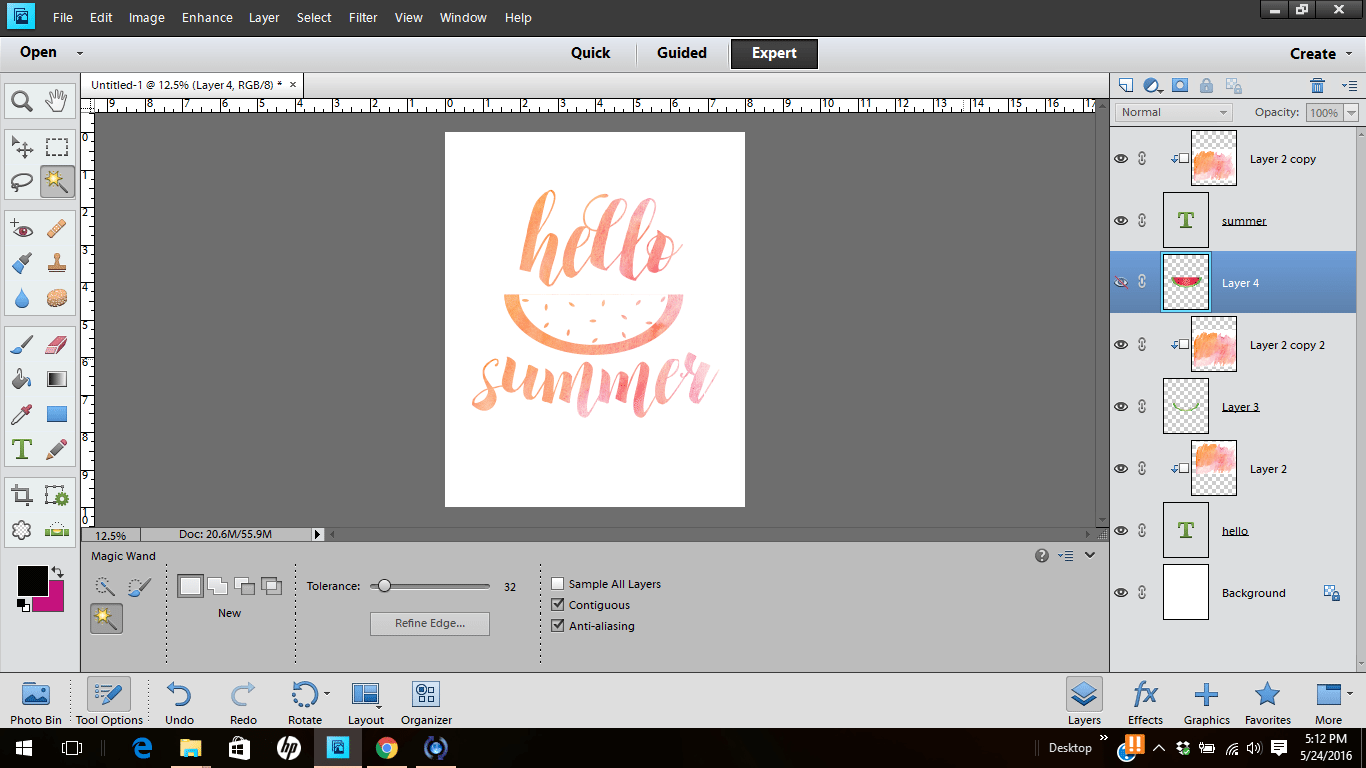
Now when you clip the watercolor layer to the watermelon, the result will be this:
Merge all your layers, save your work as a PDF and you are done!
Do you like this technique? If you want a copy of the print, I’m offering it to my newsletter subscribers for free through the end of May so be sure to sign up for my newsletter! You’ll also receive a free printable every month with your subscription! You can also get the print in my shop.
LOVE IT? PIN IT!
YOU MAY ALSO LIKE:
HOW TO CREATE PRINTABLES WITH PHOTOSHOP ELEMENTS
HOW TO CREATE PRINTABLES WITHOUT EXPENSIVE SOFTWARE