
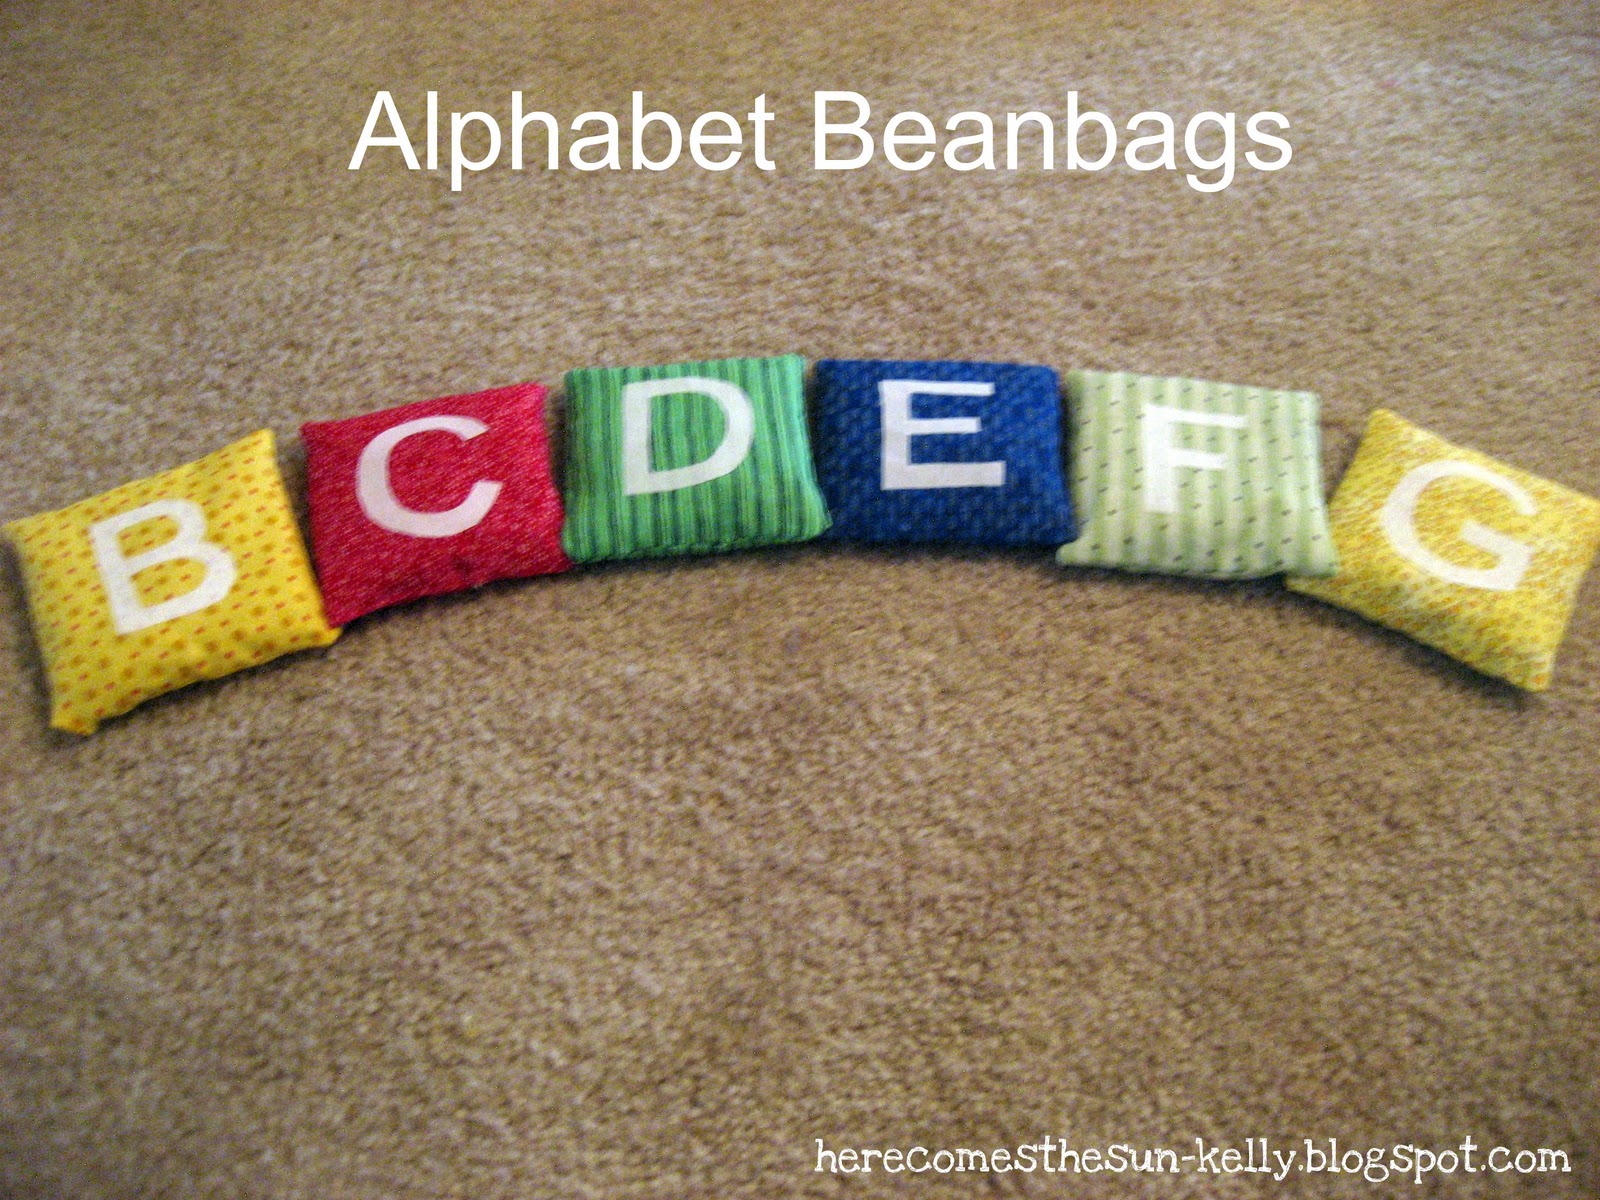
Alphabet Beanbags
This post may contain links to affiliate websites, such as Amazon and we receive an affiliate commission for any purchases made by you using these links.
My son is turning two next week. I have no idea how THAT happened so quickly! After agonizing over what to buy him for his birthday, I decided to make him something. I chose these Alphabet Beanbags that I saw on Pinterest, here and here (Don’t you LOVE that site?) I do. I get most of my crafty ideas from there.
Materials
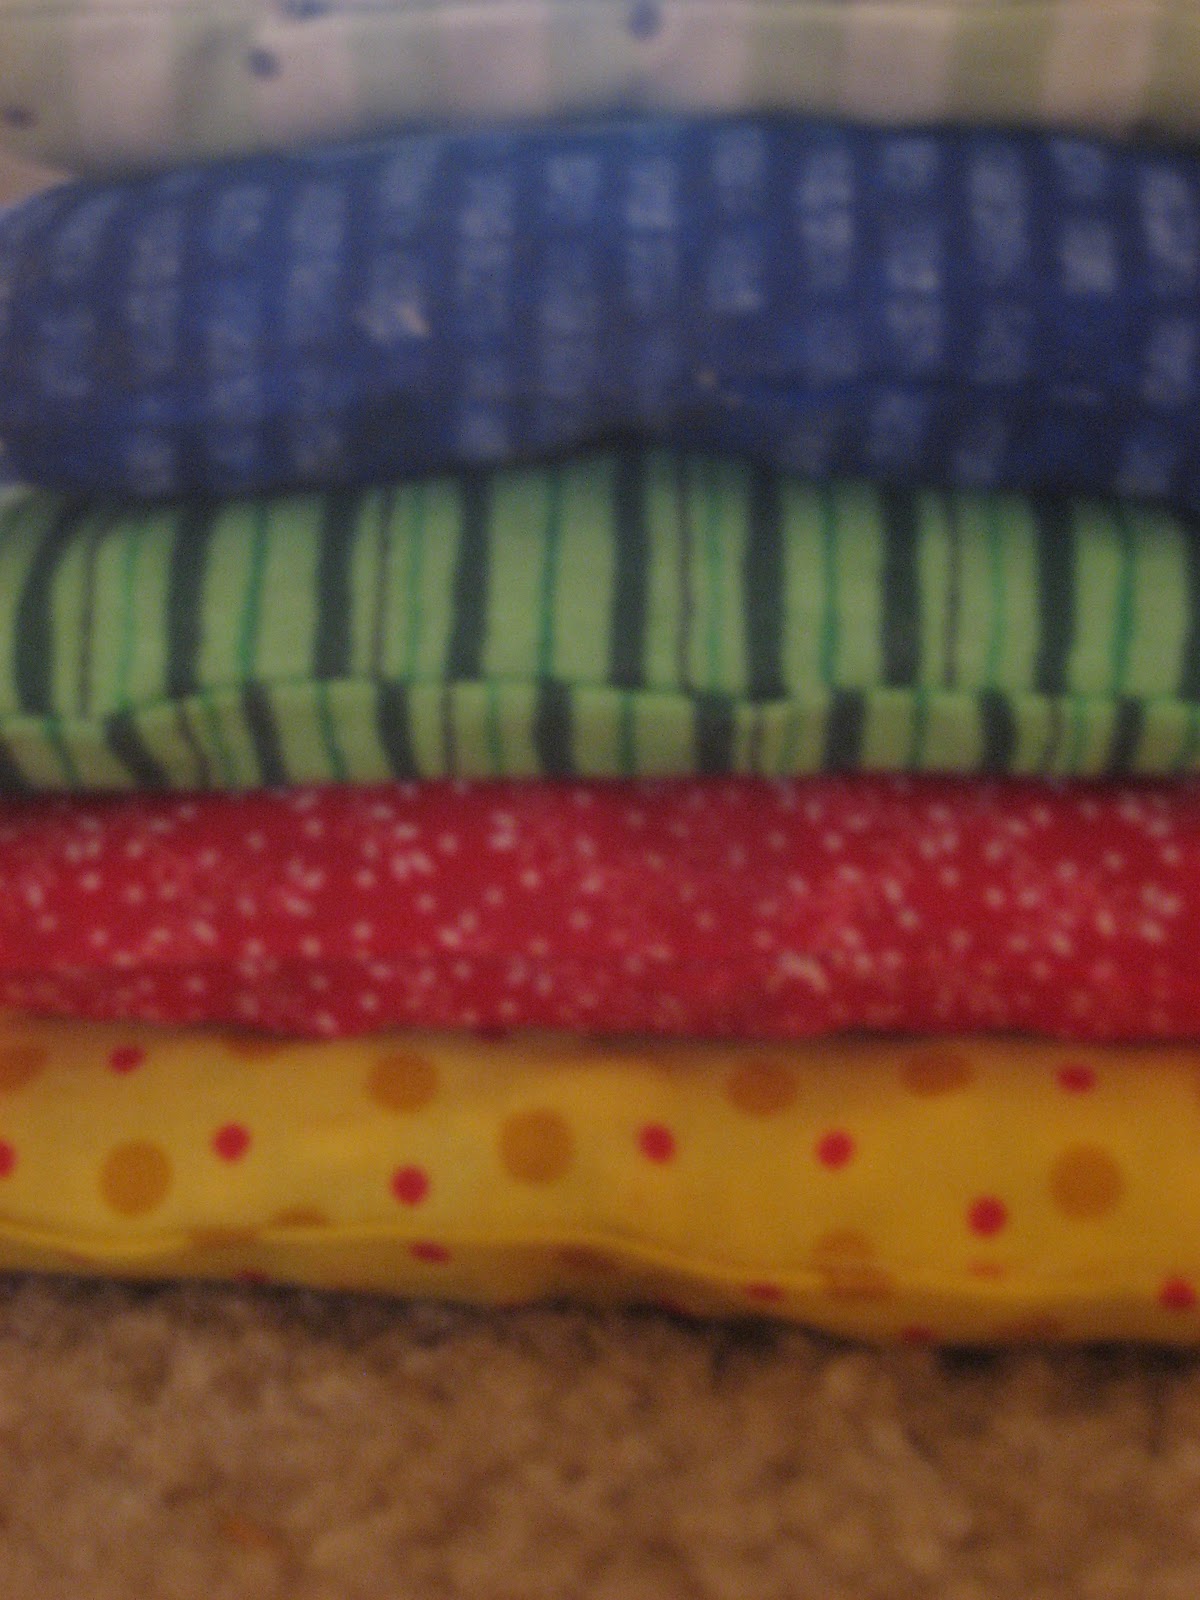
Fabric scraps of various colors
White fabric
Rotary cutter or Scissors
Sewing machine
Pins
Steam-a-Seam
Fabric glue
Corner turner
Iron
Letter template
Beans
Funnel
Directions
Cut out 52 5.5″x5.5″ squares from your fabric scraps. Make sure you have two each of the same color/pattern. One for the front and one for the back of each beanbag.

Place your fabric squares right sides together, pin, and sew around the edges, leaving 1/4″ seam allowance on each side. LEAVE A SMALL HOLE AT THE BOTTOM of one side to turn your fabric.

Trim your seam allowance, except for the seam allowance on the open edge. You will need this to turn under later. Trim the corners on an angle.
Turn your fabric square right side out, use your corner turner (or pencil) to poke out the corners and press.
Repeat for all 26 beanbags.
Using a computer, print out the letters of the alphabet in the font of your choice. Make sure it is an easy font to cut out without any intricate details.
Cut out the letter templates and trace each letter onto the Steam-a-Seam, making sure to trace them backwards. See the “J”… I messed up and had to do that one again 🙁

Follow the directions on your Steam-a-Seam and adhere the paper to your white fabric.
Once the Steam-a-Seam is adhered to the fabric, cut the letters out. You will now have a fabric letter with Steam-a-Seam attached to it.
Follow the directions on your Steam-a-Seam and attach the letters to the front of the beanbags. Usually, there is a backing that you peel off and then you iron the letter in place.

If you would like to top-stitch your beanbags, do it now before you fill the bags but leave the opening at the bottom.
Using your funnel (I made mine out of paper), pour beans into each beanbag. I used black-eyed peas and it took about 4 bags to fill 26 beanbags. I did not fill the beanbags very full….just enough to give them some shape.
To close the hole at the bottom, you have several options:
1.) Slip Stitch it closed (I am not a good hand-sewer so this option does not work for me)
2.) Use your sewing machine to continue the top-stitch. This gives your beanbags a tailored look. I attempted this with one beanbag but did not like how it was turning out (I’m not the greatest at sewing straight, even with a sewing machine).
Soooo… I did the following
3.) Fold the edges under and fabric glue them together. This gives your beanbags a “finished” look without showing any stitches. Its quick and easy.
And there you go.. Alphabet Beanbags. Perfect for your toddler to play with while learning the alphabet. Or, if your kid is anything like mine, he/she will use them as missles to launch at his/her older sister.
Sharing at:
Sun Scholars
These turned out so cute! I can totally see my kids using the bean bags as missles to each other like you said, but the alphabet game possibles are endless. What a great birthday present! I have been flipping through your last couple posts and you have been BUSY with fun projects! Your snack bags look so neat. I might have to try to make those.
oh you’ll be able to do so much with those! I want a set!
Wow awesome knowledge i appreciate to it thanks for sharing with us
Bean Bags