DIY Photo Canvas
This post may contain links to affiliate websites, such as Amazon and we receive an affiliate commission for any purchases made by you using these links.
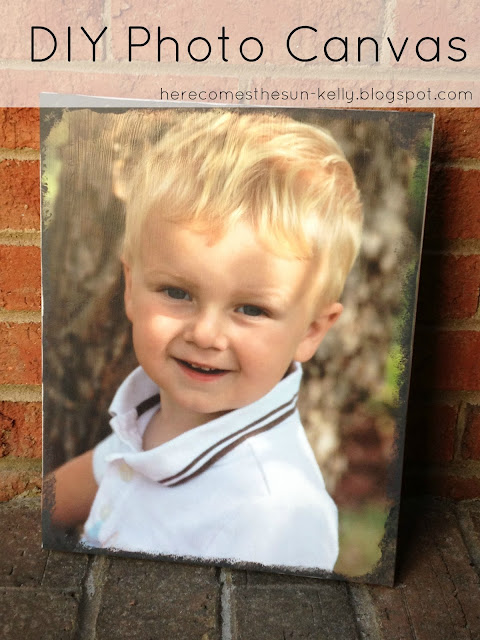
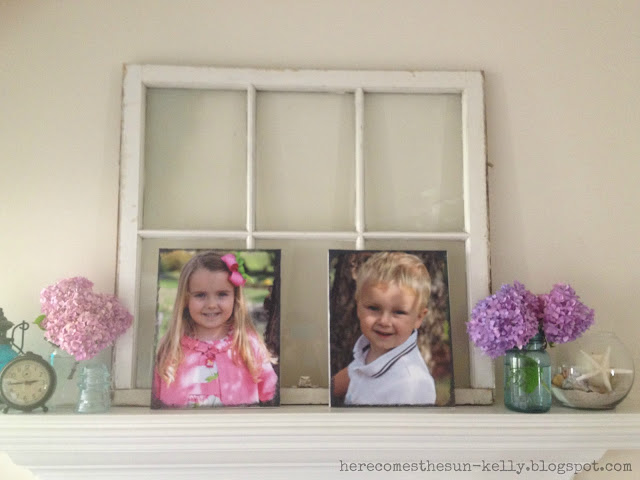
How cute is that face? I’m a bit biased.
It needs to be displayed prominently and with style. This is the project that I entered into Round 2 of One Crafty Contest. Unfortunately, my DIY Photo Canvas was not voted into the next round 🙁 I had a lot of fun making these and I think they look great. I am in desperate need of some new photos to display and wanted to do something different than just frames.
It needs to be displayed prominently and with style. This is the project that I entered into Round 2 of One Crafty Contest. Unfortunately, my DIY Photo Canvas was not voted into the next round 🙁 I had a lot of fun making these and I think they look great. I am in desperate need of some new photos to display and wanted to do something different than just frames.
MATERIALS
Canvas
Mod Podge
Acrylic paint
Spongebrush
Photo
DIRECTIONS
Print out a photo of your choice at a place such as Costco. I printed a glossy photo but I assume matte would work too.
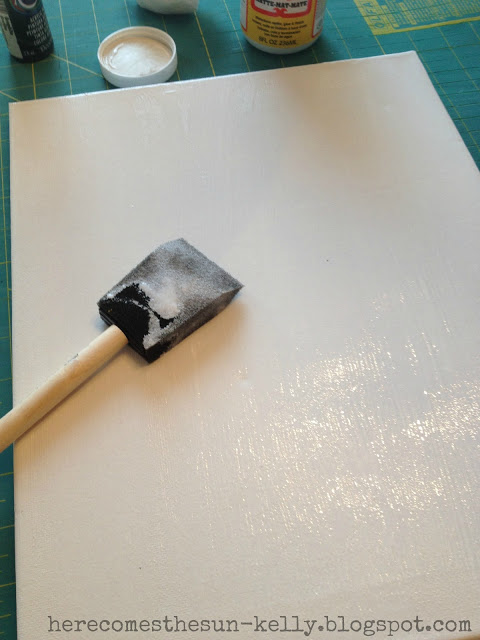
Spread a layer of Mod Podge onto the canvas. I used an 11×14 canvas and matte Mod Podge.
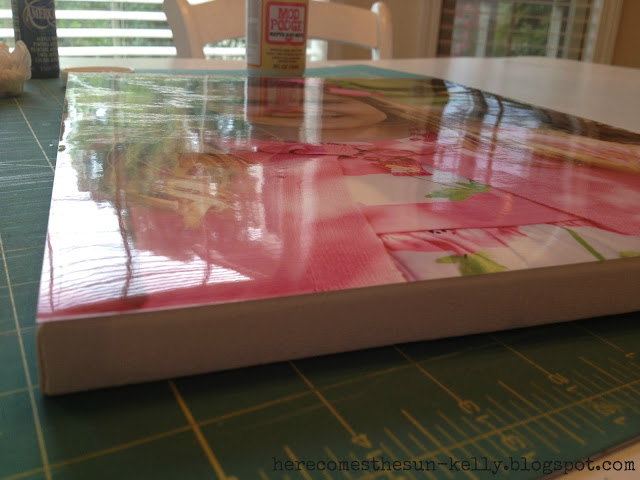
Place your photo onto the canvas, starting at one edge and smoothing to the other edge.
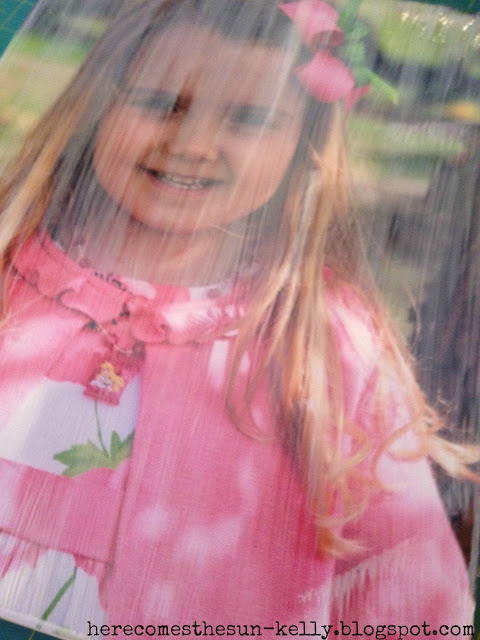
(I didn’t have any problems with the photo bubbling)
Spread a layer of Mod Podge over the photo.
After the Mod Podge is dried, dab some acrylic paint along the edges to give the photo a distressed look on the edges. If you make a mistake, you can just wipe it right off.
Let the paint dry and display in your favorite place. I put mine on my mantel.
These photo canvases are so cheap! I got a canvas 2 pack for $4 (with my 40% off coupon at Micheals). The pictures were $2.99 each. And did you know that you can make your own Mod Podge? It’s just glue and water. I had the paint on hand so the total cost was $5 per canvas. You can’t get much cheaper than that.


I love this project. I paid about 50 dollars for an 8 x 10 canvas from Kodak gallery. Next time I will definitely be using your tutorial
I LOVED this project and voted for it in the contest! I think I will definitely be trying this soon :o) I got cut that round too (I had the dyed mason jars). Wasn’t it so fun participating?!
Those turned out so cute!!!
New linky follower! I love this project, I did a canvas picture like this as well! I would love if you followed back http://iheartpears.blogspot.com
Those turned out great! I am totally going to try this! Thanks for sharing at the Pomp Party! Pinning to our Pomp Party board!
Jill @ Create.Craft.Love.
Great idea! I just bought some modge podge and I would love to try something like this with my grandbabies pictures:) Thank you for sharing this awesome project at Freedom Fridays. Hope you have a super terrific week!
Lovely! This would make a super great gift…I have a blank canvas too! Thanks for sharing at our Pinteresting Party.
These are CUTE! Love them! Thanks for linking up with us on “Strut Your Stuff Saturday!” We hope to see you next week! -The Sisters
Looks great. So very very vute 🙂
Do you think Spray Mod Podge would work for this type of project?
I have never used spray mod podge but I don’t see why it wouldn’t work.
Would Spray Mod Podge work for this type of project?
Hey, My name is Laura and I blog about tips for displaying printed Instagram photos. I have been doing lots of looking around to find unique photo display ideas and I just want to let you know I love this idea! I love seeing the crafty ideas that people create to display their photos! thank you for the inspiration and thank you for sharing.
This look easy thank you so much I am going to try it
Wonderful idea! May I ask, whether the photo has to be printed by and ink printer or a laser printer? Hope I can get the right Mod podge here in Germany to follow your instructions ;-)! Definetely a real art project! Thanks for sharing… Will recommend your site for sure!
I got my photos printed at a photo center.