Media Cabinet Makeover with Royal Design Studio Stencils
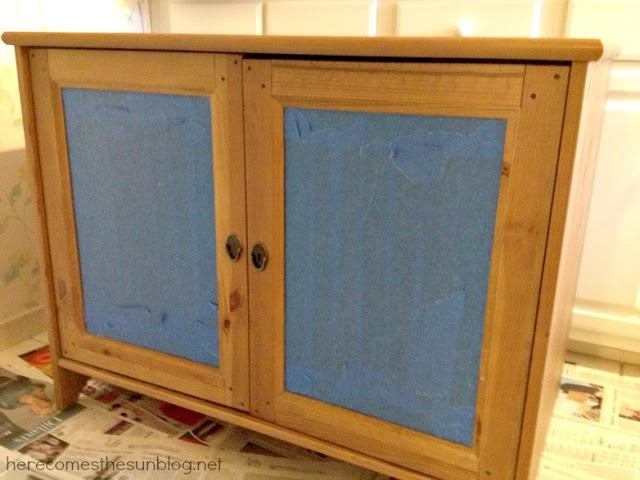
Are there any IKEA lovers out there? We have purchased quite a bit of IKEA furniture over the years. However, most of the furniture that we have purchased has been the natural wood/honey brown color and my style has changed quite a bit since these purchases. The honey brown color is just not in my design plan anymore. These days I am drawn more to white furniture. So I am stuck with {almost} perfectly good furniture in the totally wrong color. In my never ending quest to create the “perfect” home I decided that my tired old IKEA media cabinet needed a makeover. But this time I wanted to give it a little oomph and decided to try my hand at stenciling.
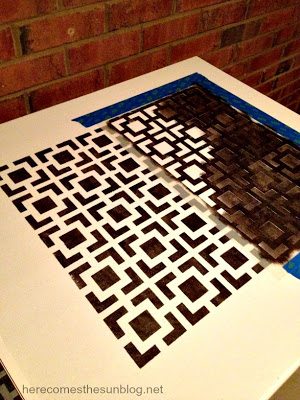
Dip your stencil brush into the cream and swirl the brush onto a paper towel to remove the excess. Starting at the outer edge of the stencil, swirl in toward the center of the stencil. The excess paint comes of on the stencil and not on the portion of furniture you are painting. If you would like a more detailed version of the stenciling process, Royal Design Studio has a Brush Stenciling with Royal Stencil Cremes tutorial.
And that is how simple it is! Just keep moving the stencil until you’re done. I was worried that I wouldn’t be able to line things up and the pattern would get all wonky but the stencil has indicator marks on it that show you exactly where to place it when you move it.
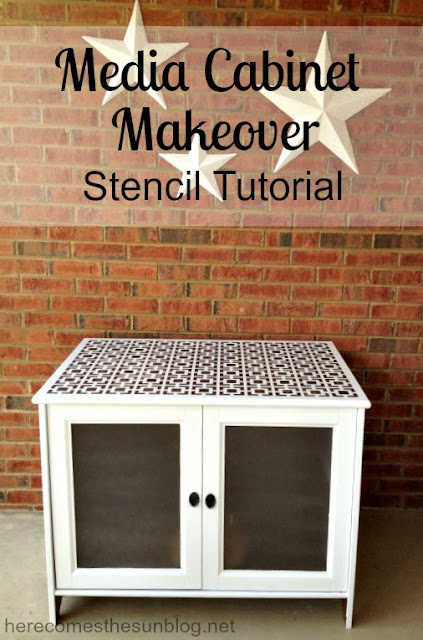
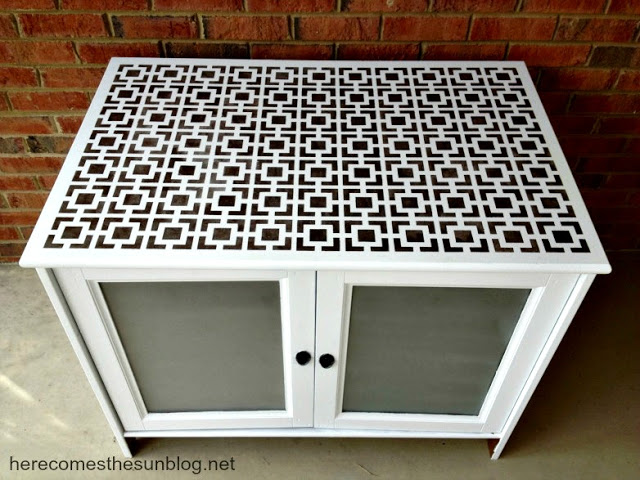
I am so impressed with the way this turned out. I am absolutely in love. I was going to continue the stencil all the way to the edge but loved the way the white border looked so I left it like this.





Oh my gosh Kelly, that turned out great! Thanks for visiting my blog and commenting on the Ikea update I did. I really do love that square pattern and love the smaller repeat like you have on yours. I might have to find that stencil and find something that needs it! 🙂 Sharon
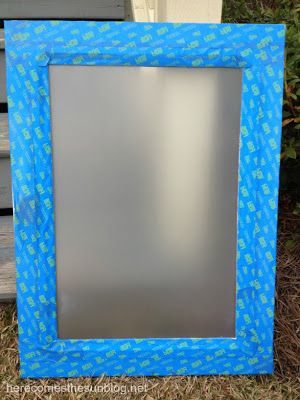
Looks fab, Kelly! I love that you frosted the glass doors – great solution! Love everything about your new media piece!
Love love love love LOVE!!! Great color choices {my vanity is black and white too and I think it’s so striking}, love the stencil…just plain LOVE! Thanks for sharing at Shine on Fridays!