DIY Magnetic Board
Add some organization to your home with this DIY Magnetic Board.
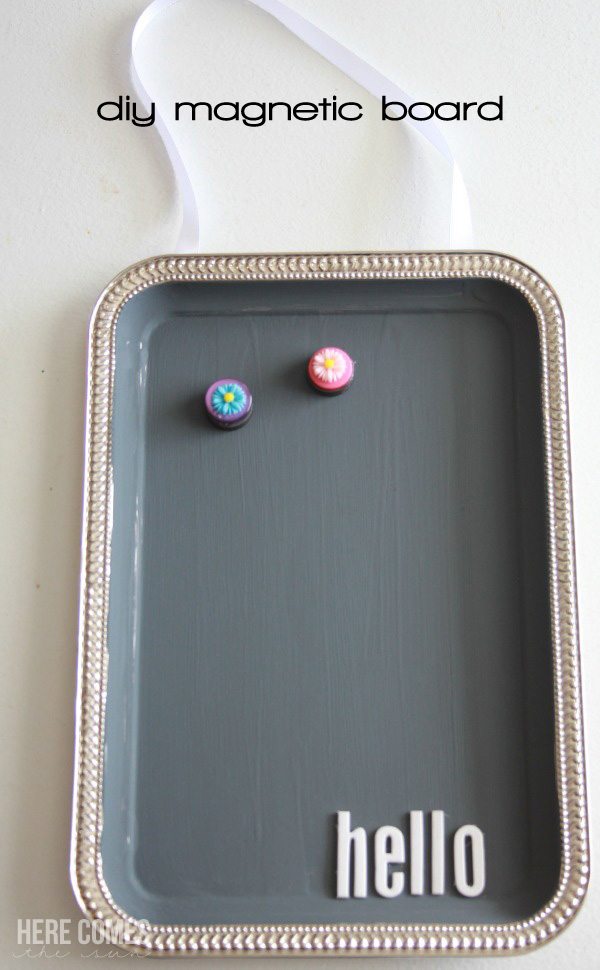
I don’t know about you, but I always need a bit more organization in my home. There are so many items that help you organize but a lot of them are not very attractive. That’s why I made this DIY magnetic board to help cut the paper clutter!
Here are the supplies that you need:
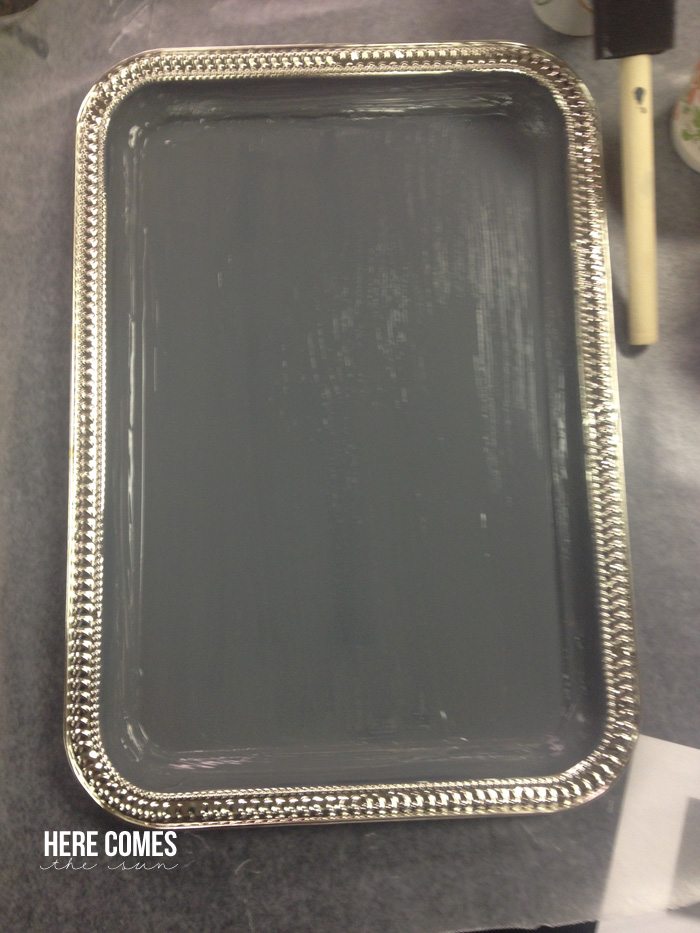
Metal tray (from the dollar store)
Chalk paint
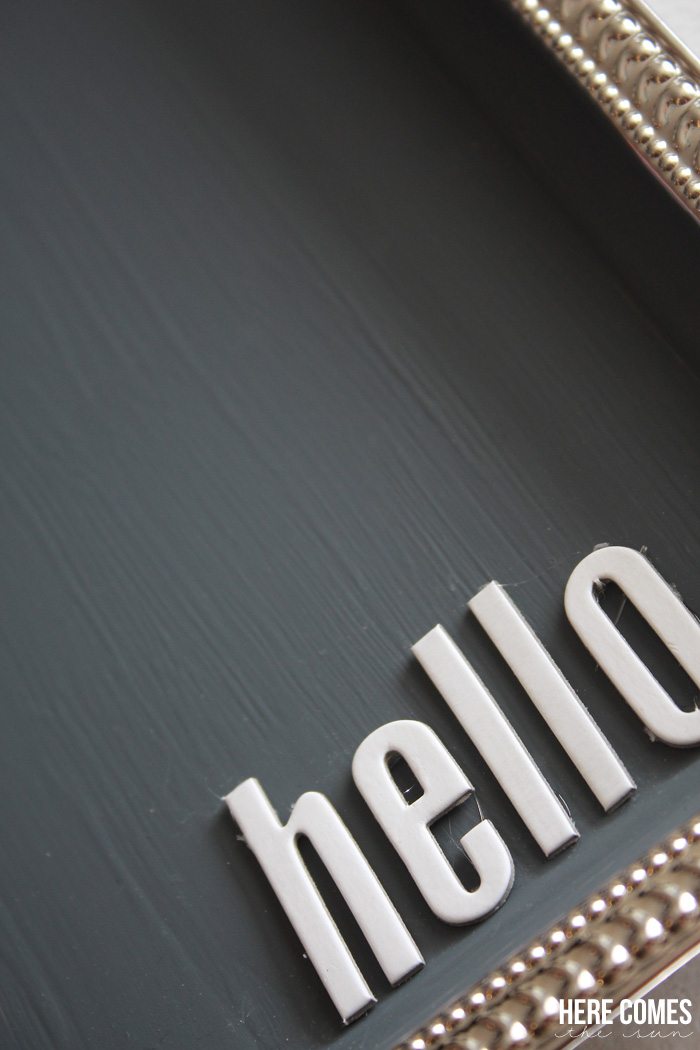
Chipboardletters
Ribbon
Glue gun
Sponge brush
Magnets
First, paint your tray with your chalk paint. You can use any color. I chose gray. I like chalk paint because you don’t have to sand or prime the surface that you are painting. In case you don’t know, chalk paint is NOT the same as chalkboard paint. Although you could also use chalkboard paint for this project. Be sure to put on thin coats and let dry fully before applying the next coat. This project took about 2-3 coats.
After the paint has dried, use your hot glue gun to attach the chipboard letters to the tray.
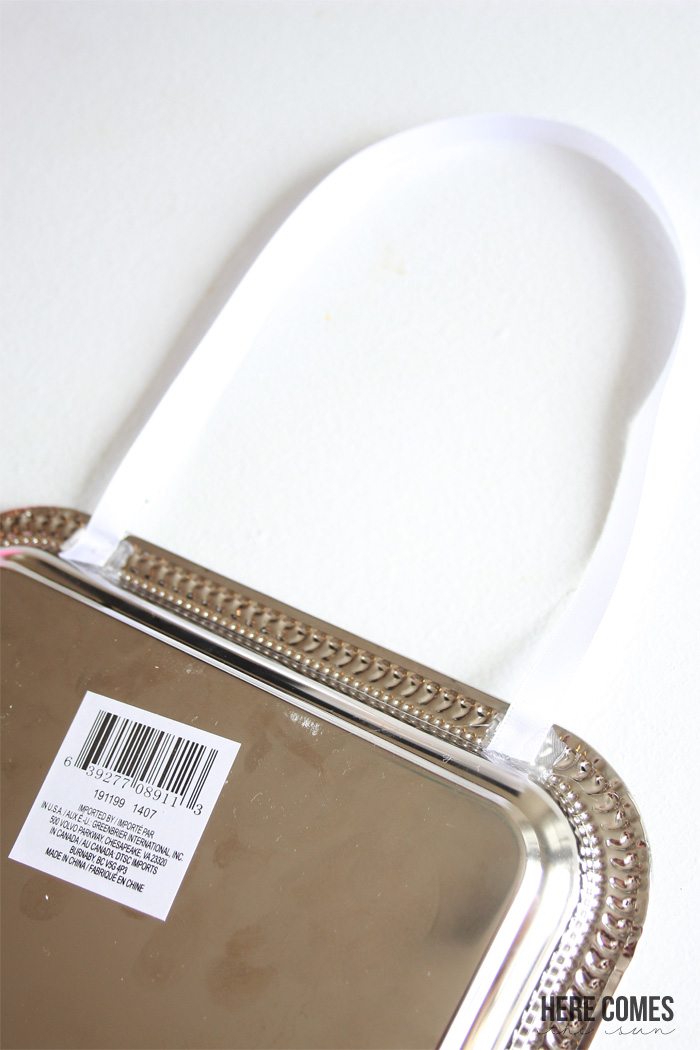
Cut your ribbon to your desired length and hot glue to the back of the tray.
Attach some cute magnets and you have instant organization! This magnetic board would look great hanging by your front door or as part of a kitchen command center. Use it to hold all those little pieces of paper that seem to multiply. It would also look good in a kid’s room.
For more organization ideas: