
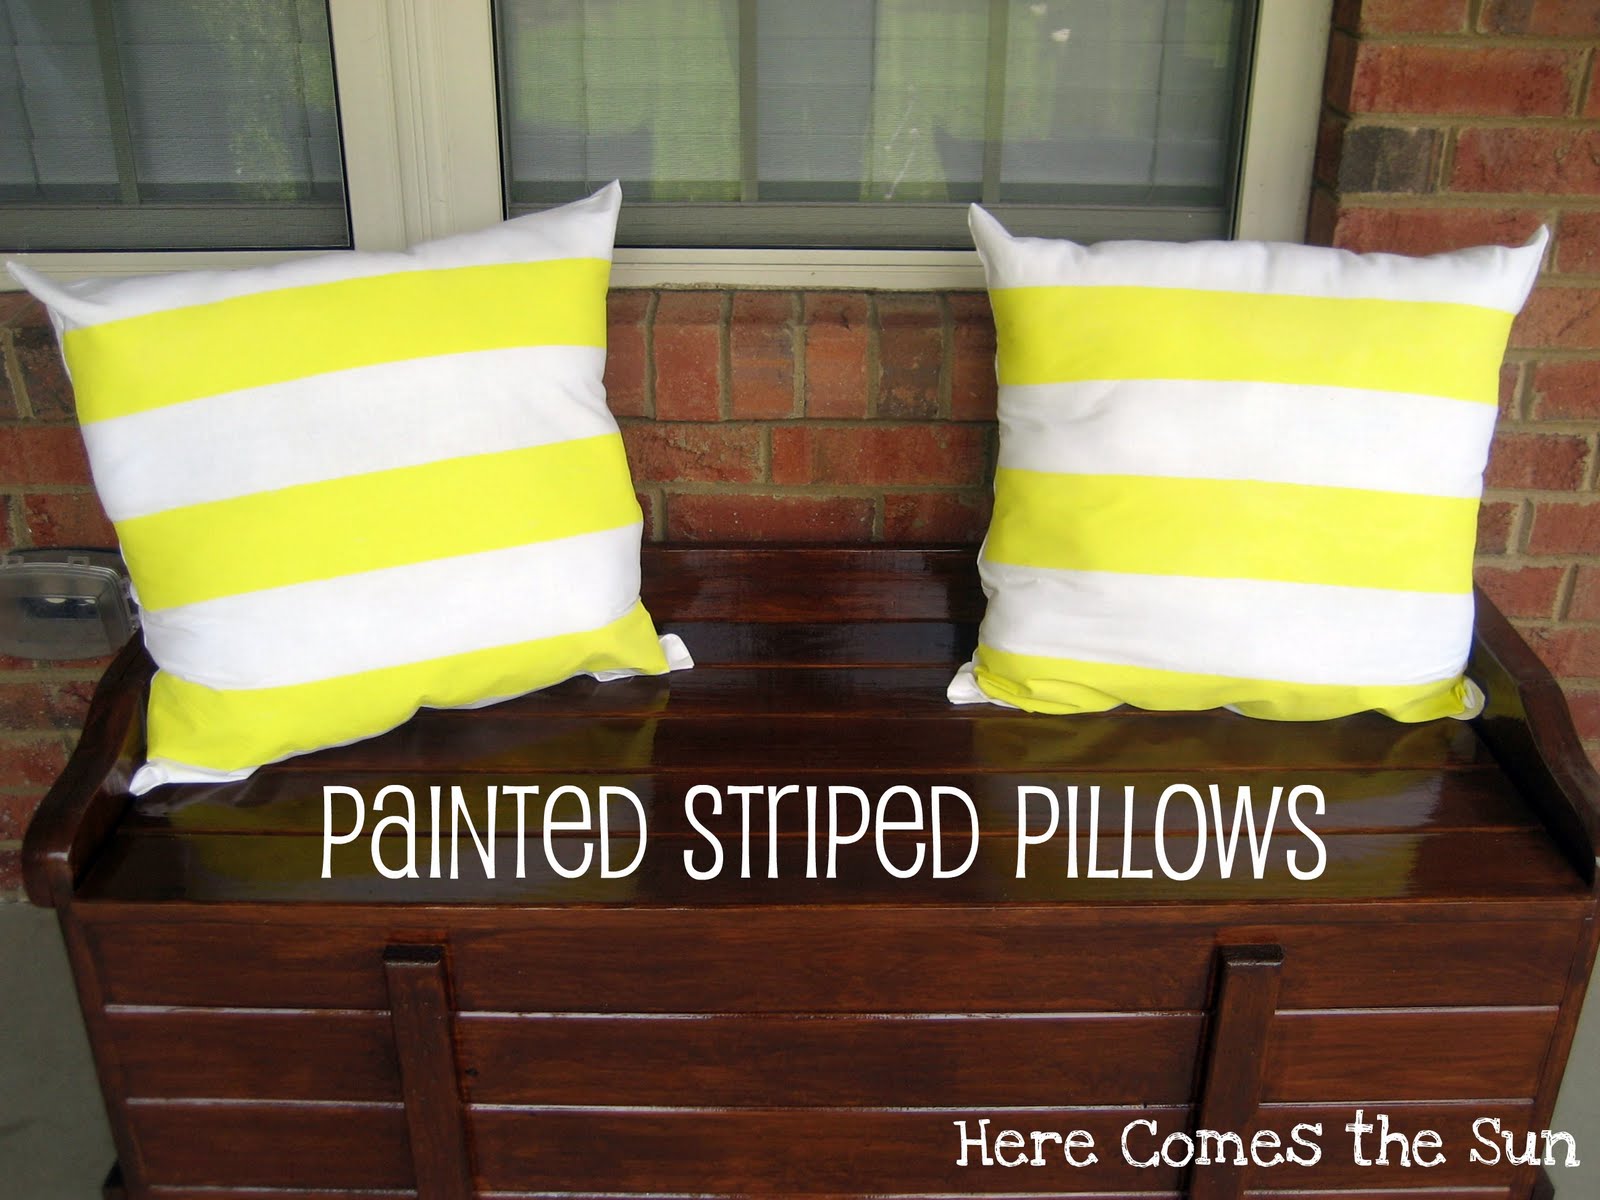
Painted Striped Pillows
This post may contain links to affiliate websites, such as Amazon and we receive an affiliate commission for any purchases made by you using these links.
I love the look of striped outdoor pillows. They remind me of summer and lying in a cabana by the pool sipping a cocktail. Like I ever get to do that, right? They actually remind me of the summers that I used to spend at my grandparent’s house when I was a kid. They lived up in the New Hampshire countryside and had a beautiful old farmhouse with a view of the Green Mountains of Vermont. They had a pool that overlooked the gorgeous scenery. And there was a golf course/restaurant up the road that we used to walk to and eat out on the porch. The restaurant had these bright yellow and white striped awnings. I wanted some pillows to dress up my porch and was inspired by the color combination of light blue and yellow. I followed a fabulous tutorial here.
MATERIALS:
Muslin fabric
Painters tape
Acrylic paint
Fabric Medium
Pillow stuffing
Sponge Brush
Ruler
T-square
Stitch Witchery
DIRECTIONS:
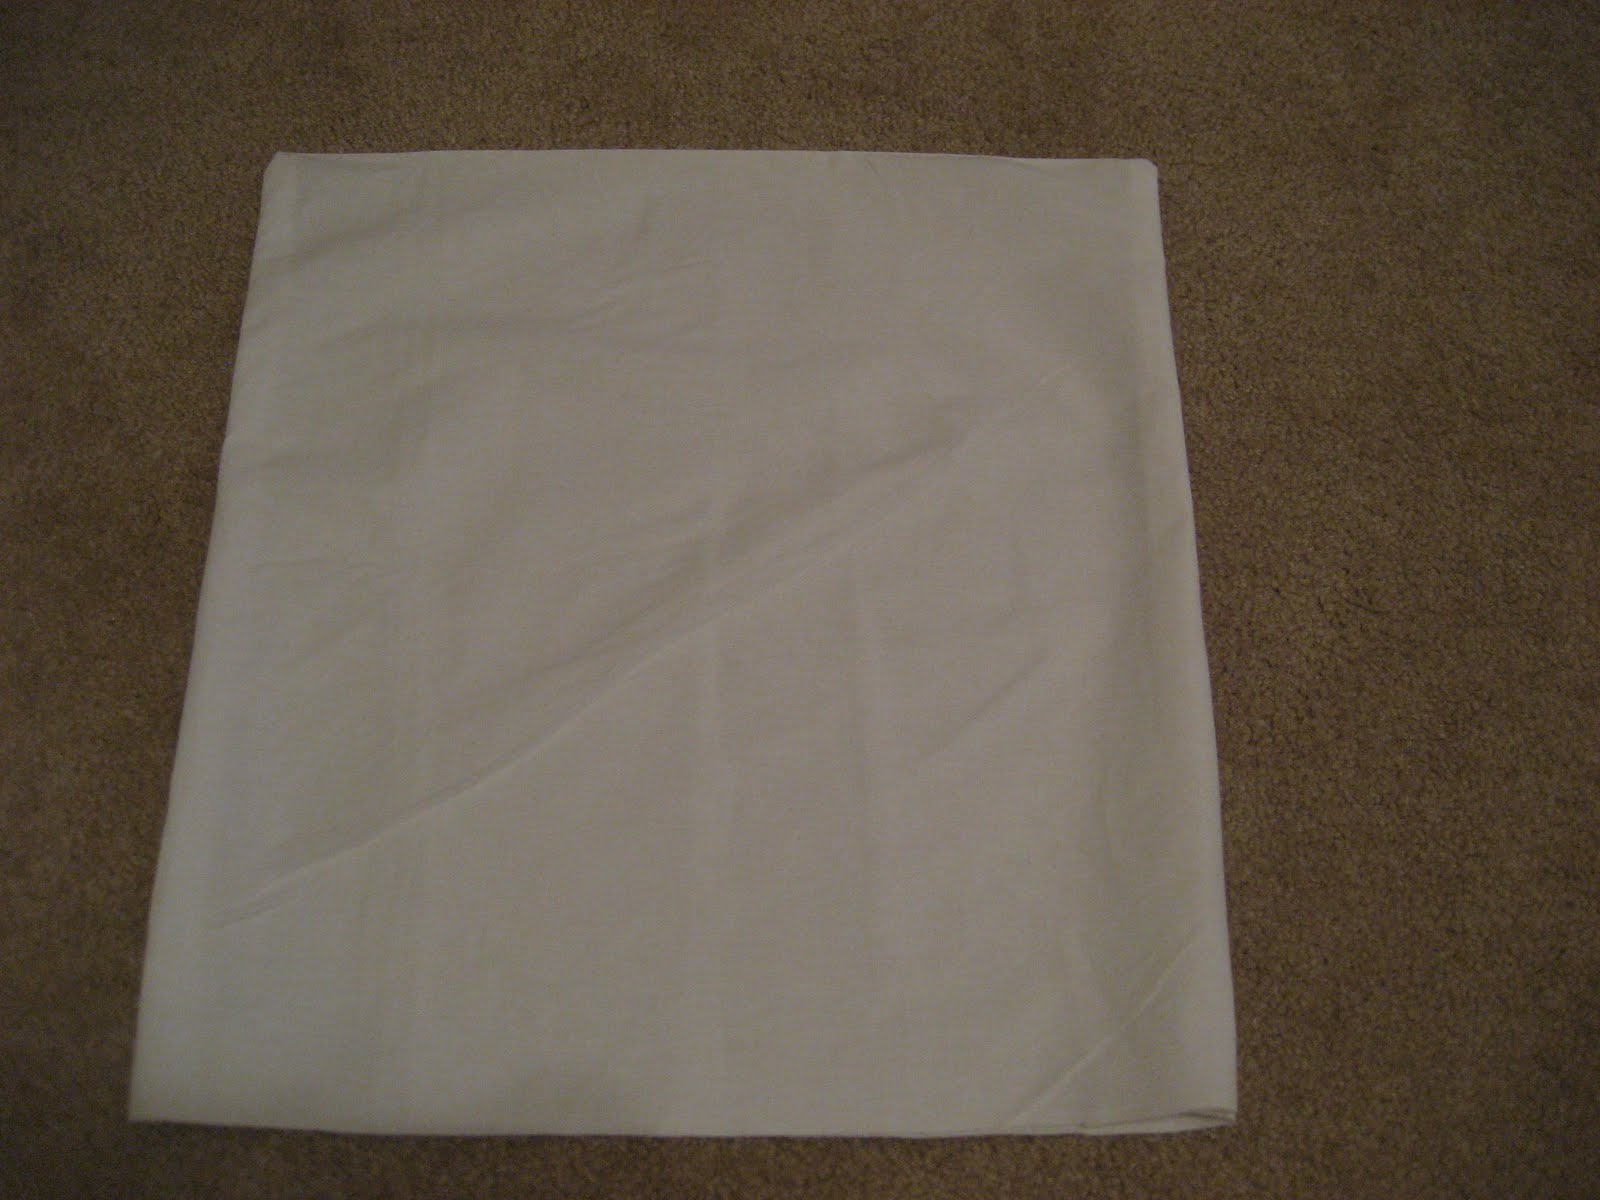
Cut your muslin into a square measuring 21 inches on all sides. Use the folded edge as your top seam and you will have a double layer. I used 2.3 yards of muslin and was able to make 4 pillows. Place stitch witchery along the 2 sides and adhere together, leaving the bottom open. Make sure to use a damp press cloth or the steam setting (and wool setting) on your iron. I found that using the steam setting worked better. Line your stitch witchery up with the edge of the fabric and press with your iron. Turn your fabric right side out.
{You can also stitch down the sides if you like. I happen to like no-sew projects.}
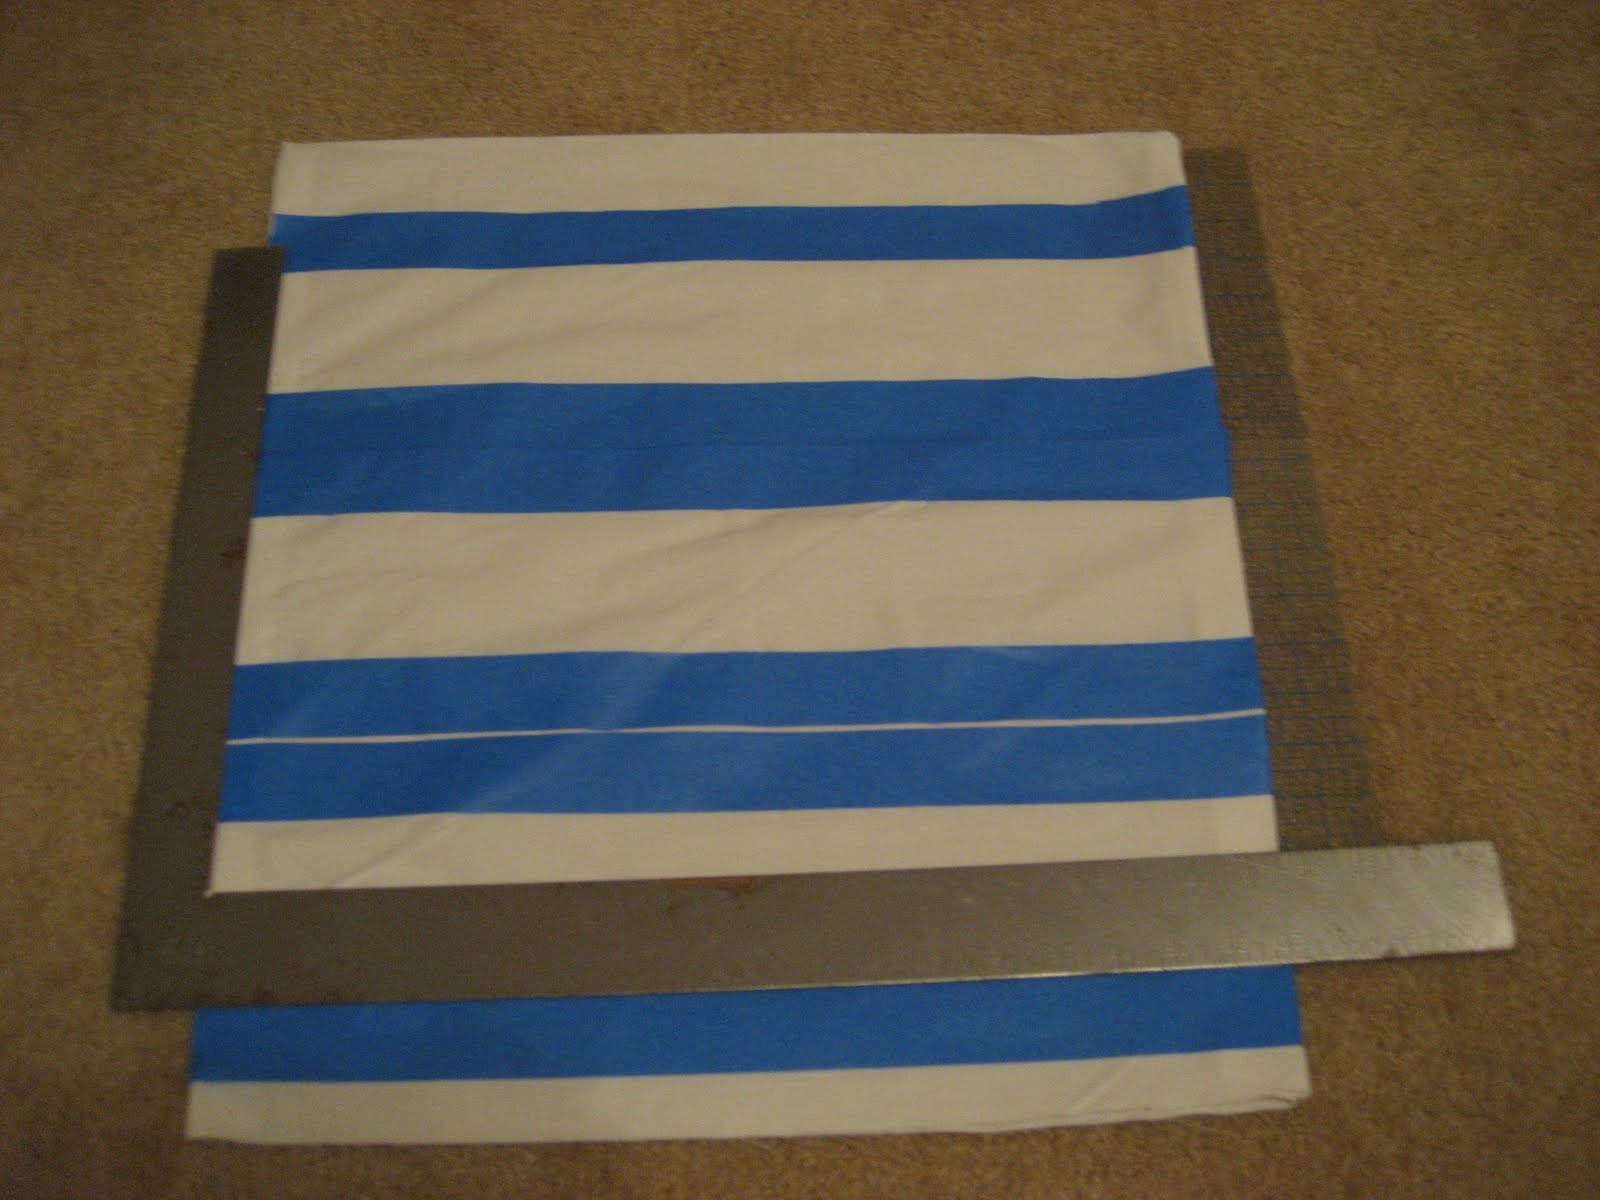
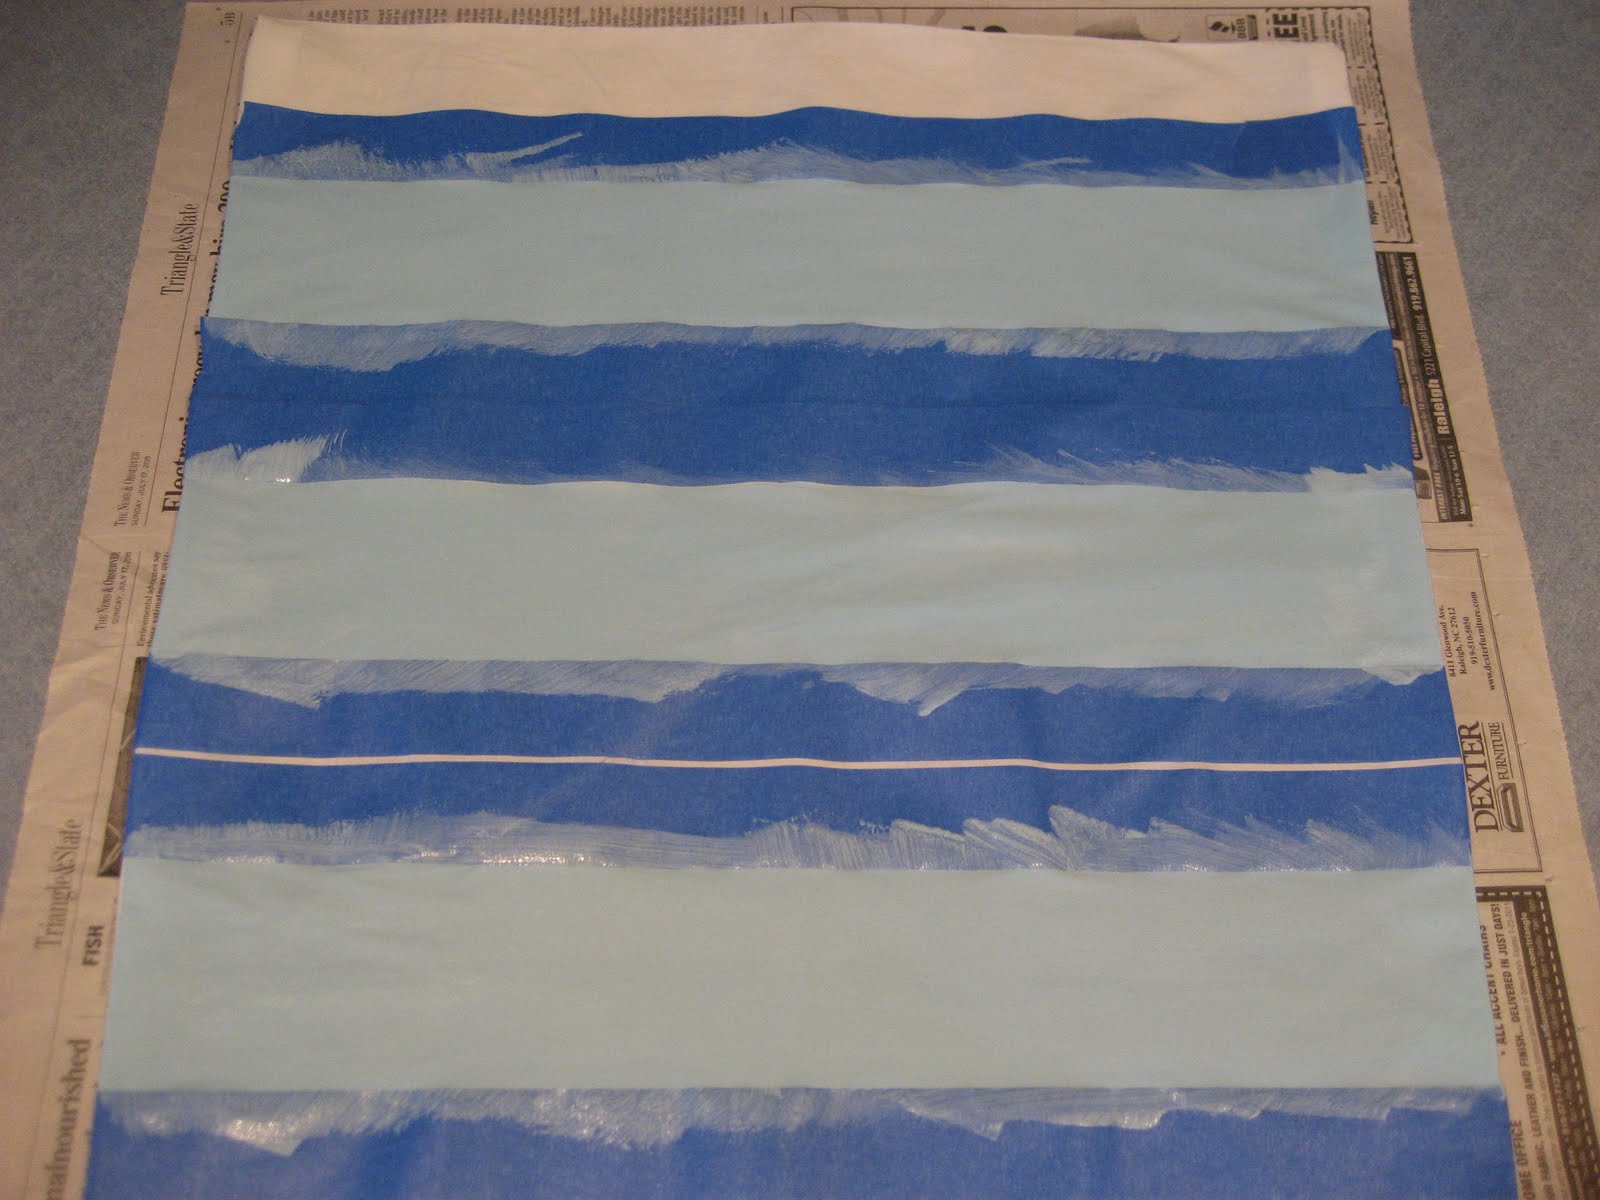
Use the pattern below{courtesy of Stephanie Lynn} to tape off your stripes with painters tape. Use a ruler and a t-square to keep your stripes straight. Your stripes will be 3 inches wide and there will be 3 inches of white between each stripe.

Mix the acrylic paint and fabric medium (2:1). Fabric medium is a clear liquid that, when mixed with acrylic paint, turns the paint into a fabric paint. Fabric medium helps to paint bond to the fabric to prevent cracking, peeling, and fading.
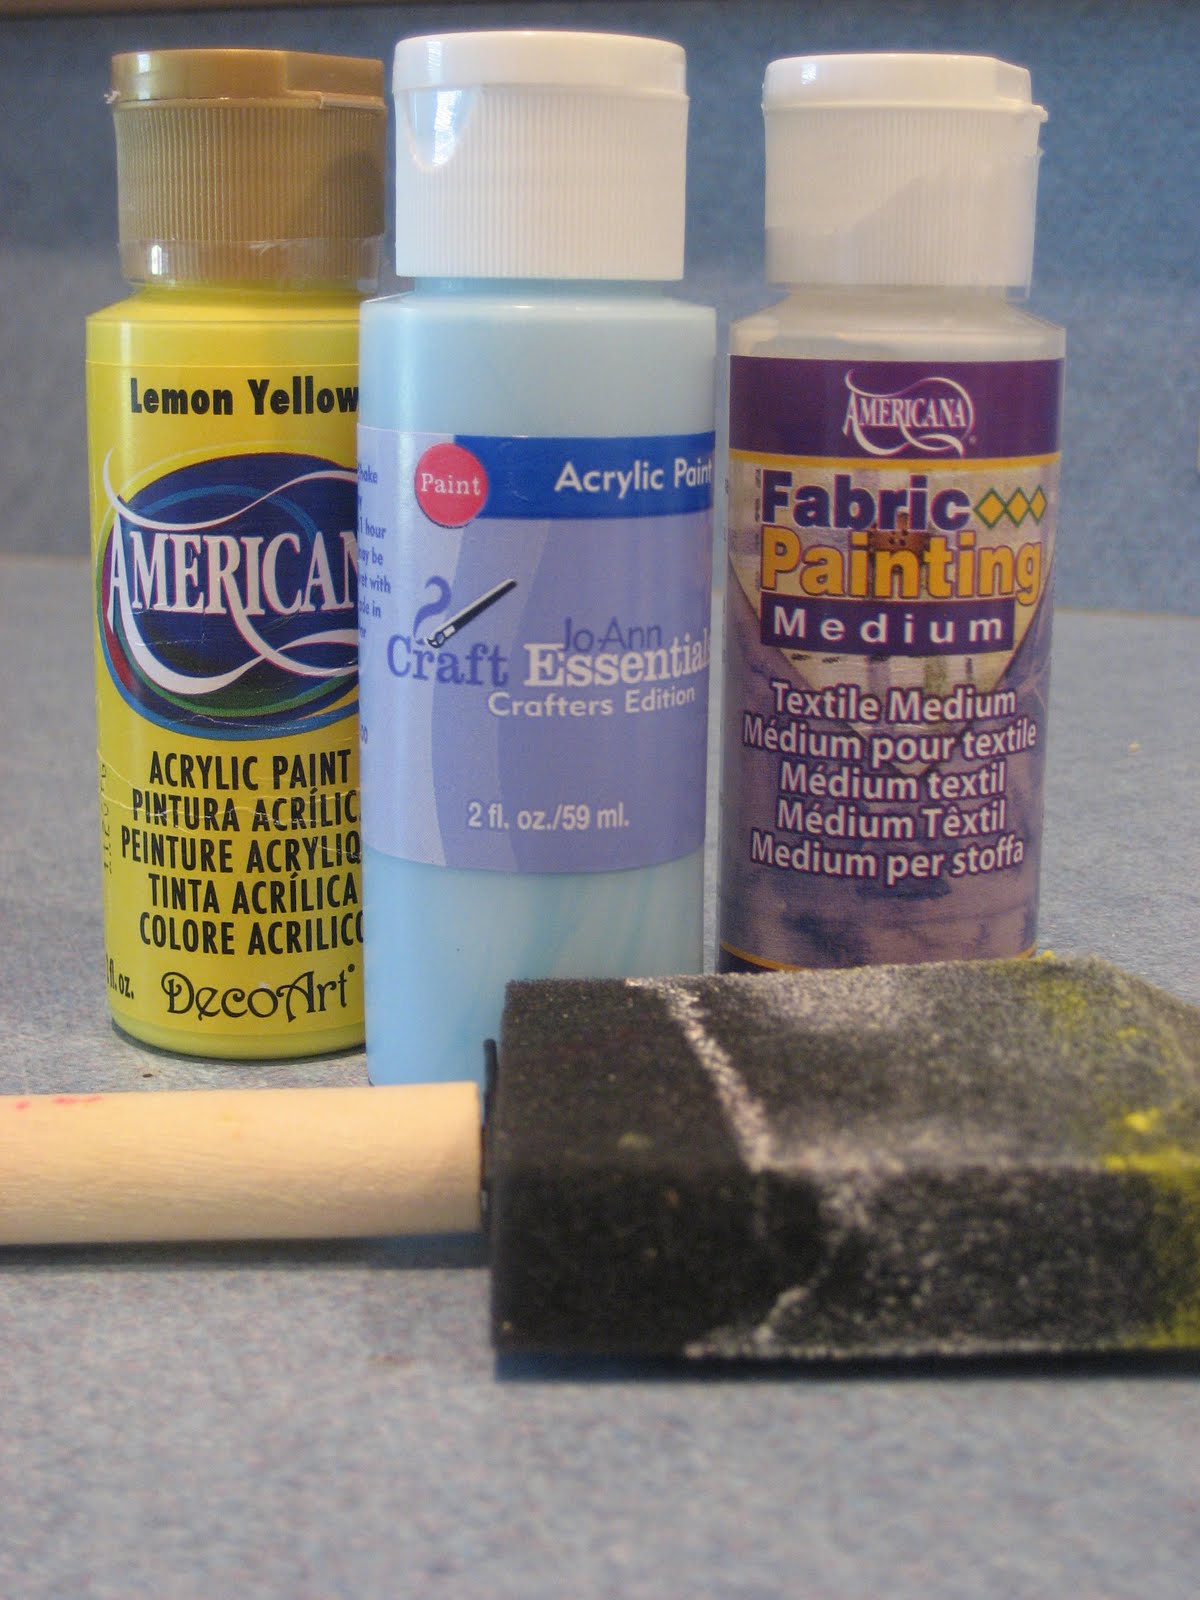
Paint your stripes. I chose Lemon Yellow by Americana and Baby Blue by JoAnn Craft Essentials. Be sure to paint from the tape “into” the center of the stripe. By doing this, paint it less likely to bleed underneath the tape.
Let the paint dry 24 hours and peel off the tape. Heat set the paint using an iron for 30 seconds on each section of paint. I painted the front of the pillows only but you can do both front and back if you like.
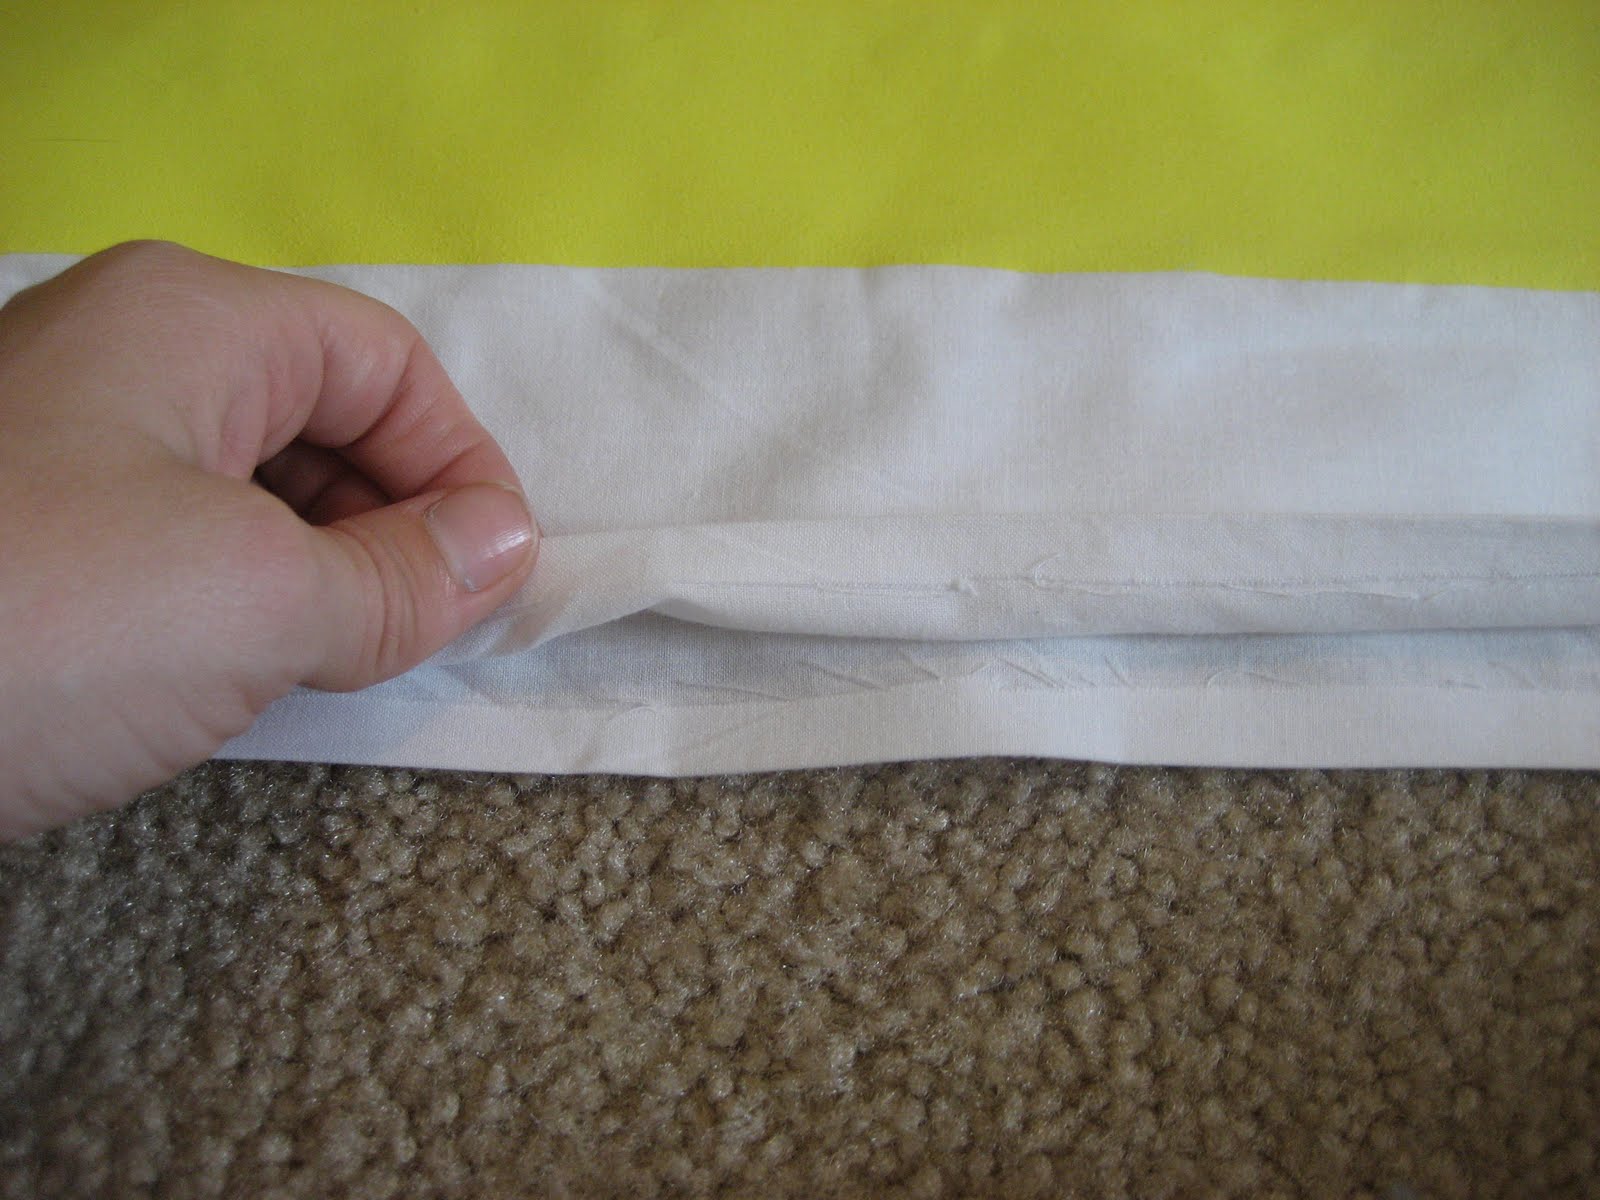
To make a clean edge on the bottom of the pillow, fold the edge under once and adhere with stitch witchery. Now you have a clean edge that will be easier to close.
Stuff your pillows using store bought stuffing or recycled stuffing from pillows that you do not use anymore. Close the bottom of your pillow using stitch witchery.
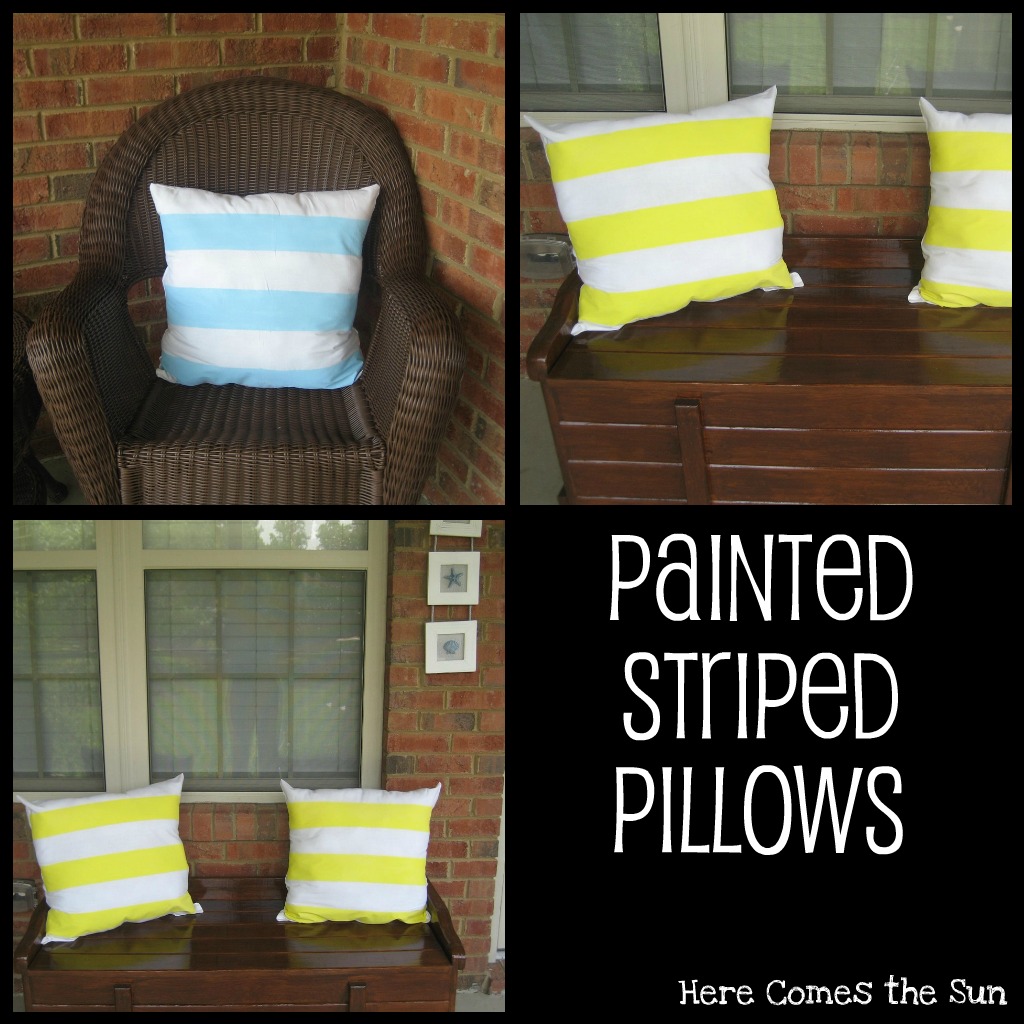
I love the way that these turned out. Although they are not made from outdoor fabric, I think they will hold up quite well on my screened-in porch.
Sharing this craft at:
Gluesticks
While He Was Napping
Fireflies and Jellybeans
Somewhat Simple
Momnivore’s Dilemma
T.G.I.F
Fingerprints on the Fridge
Ladybird Lane
Love the stripes. If you get a chance I would love you to link your pillows up to More the Merrier Monday. It starts tonight and lasts through Wednesday. See you there. http://diyhshp.blogspot.com/
Wow! With craft paint? I never think to use it on fabric. I normally only paint wood. The pillows turned out great. I love how you can make so many colors to go with your decor. – Victoria